|
By: Paul S Cilwa |
Occurred: 10/13/2020 |
|
Page Views: 831 |
| Hashtags: #Coronavirus #Maui |
| While isolated during a pandemic, is the perfect time for construction projects. |
| Estimated reading time: 3 minute(s) (658 words) |
But first, let me describe the contraption. (Sorry, there are no pictures.)
When we first moved to the shed, Keith and I used a queen-sized
camping mattress. But it developed a leak and had to be replaced
after a month or so. And a month later, the replacement also
developed a leak.
Apparently, the makers of camping equipment don't really expect
their customers to use their products for extended periods.
So we bought a regular, queen-sized, memory-foam, mattress.
At first we just put it on the floor. But I hated having to get
up and down from it, plus it made it easier for the critters with
which we share the shed (like centipedes and earwigs) to also share
our bed. So I took two camp cots that were on the property and
brought them to the shed to put the mattress on. The cots were two
narrow to support the mattress if they were directly adjacent; so I
separated them with flagstones I brought in.
That supported the mattress and brought it off the floor. But the
cots tended to scoot apart. So I had to add bungee cords to keep the
cots as close together as the flagstones would allow.
But then one set of legs on one cot started bending, making one
corner of the mattress sink toward the flo or.
I considered simply buying an assemble-it-yourself platform bed
from Walmart. But 1) I didn't have a spare $100 to buy one; and 2) I
knew from experience that, once assembled, it would be too flimsy to
move, as we'll have to do if and when our bamboo hut is finally
completed.
So the next option was to build something. I wanted something
practical, sturdy, moveable, and cheap (preferably, free). I decided
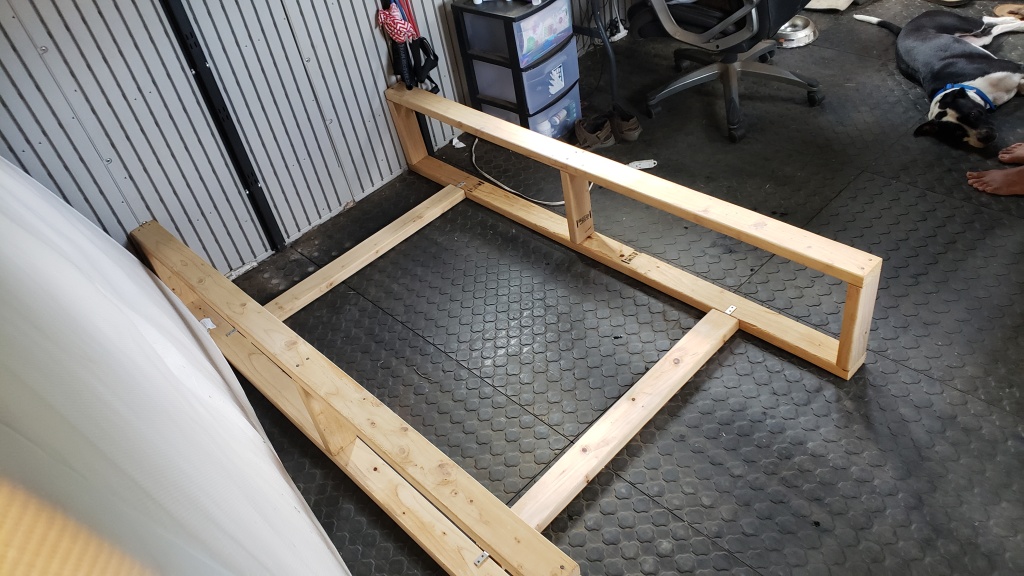
on a design of two rectangles for the sides, held together by planks
on the bottom and slats on the top. The mattress is intended to
overhang the slats by a couple of inches. This design allows for
storage under the bed, and also makes it difficult for critters to
climb up and under to get to the top of the mattress. And, last but
not least, it gives our dog Lilly a replacement for her chosen den
beneath the cots.
I got the measurements for a standard queen mattress and bed height
from the Internet. That allowed me to calculate the sizes to cut the boards.
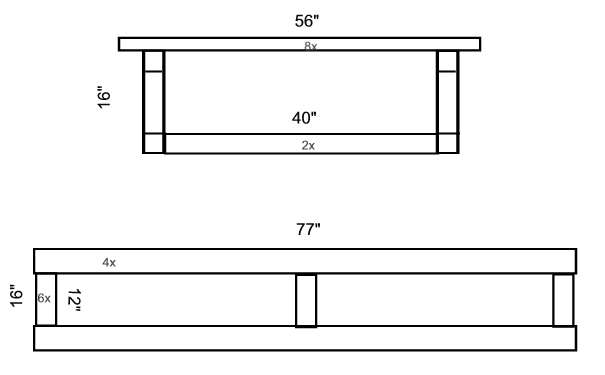
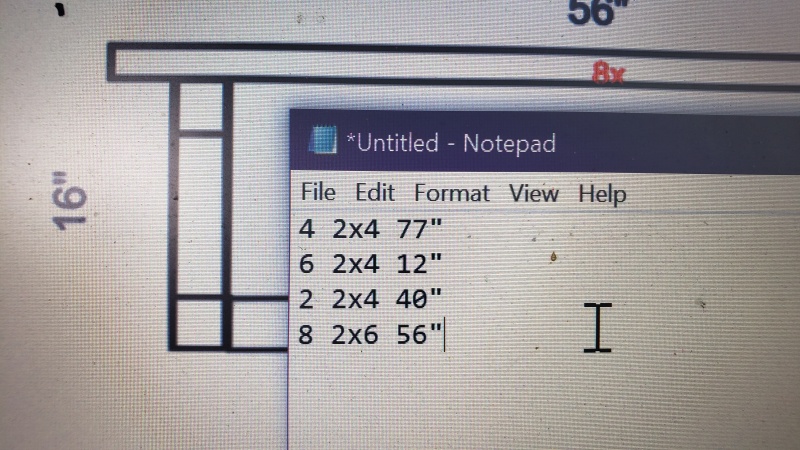
I measured and cut the boards.
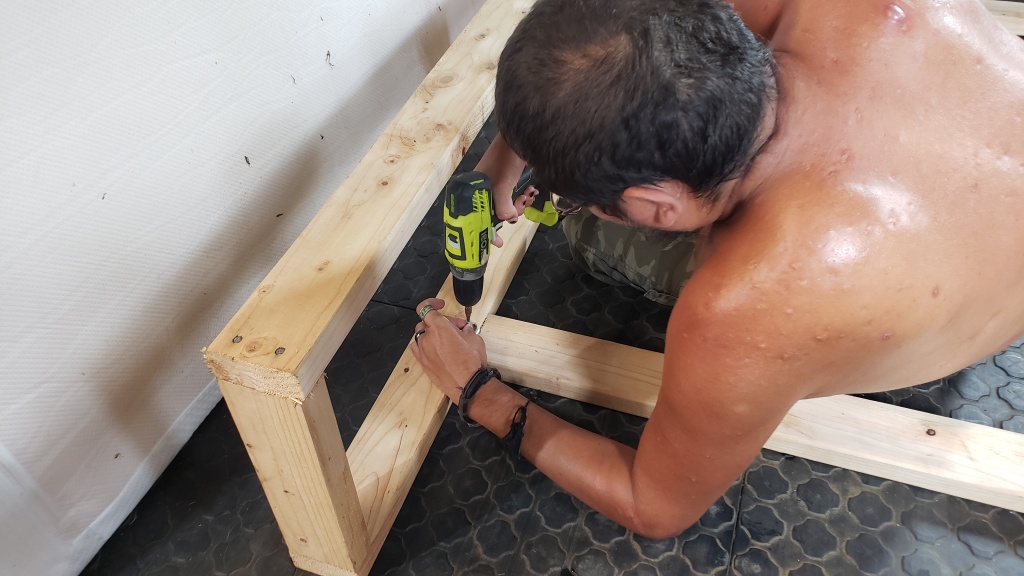
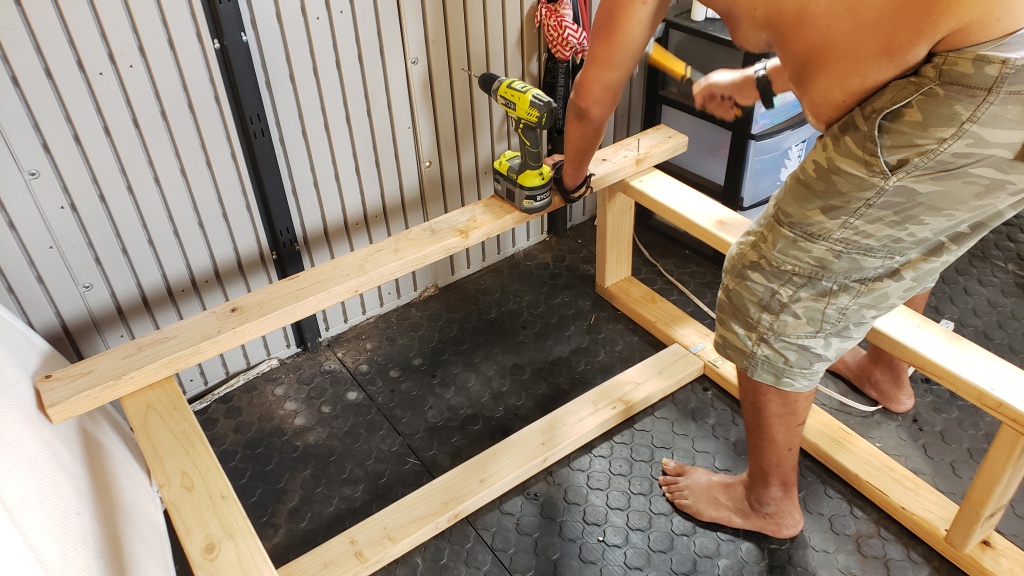
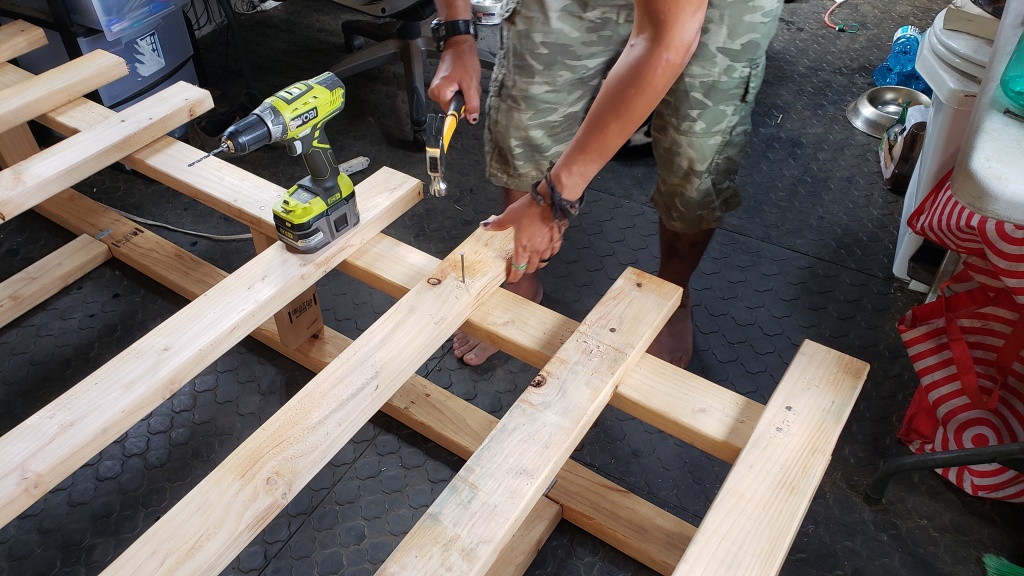
Then Keith did the hammering; and in no time we had the two side support rectangles.
We stood the mattress on end and removed the cots, bungee cords and flagstones, and cleaned
the floor where they'd been. We then stood the support rectangle in place.
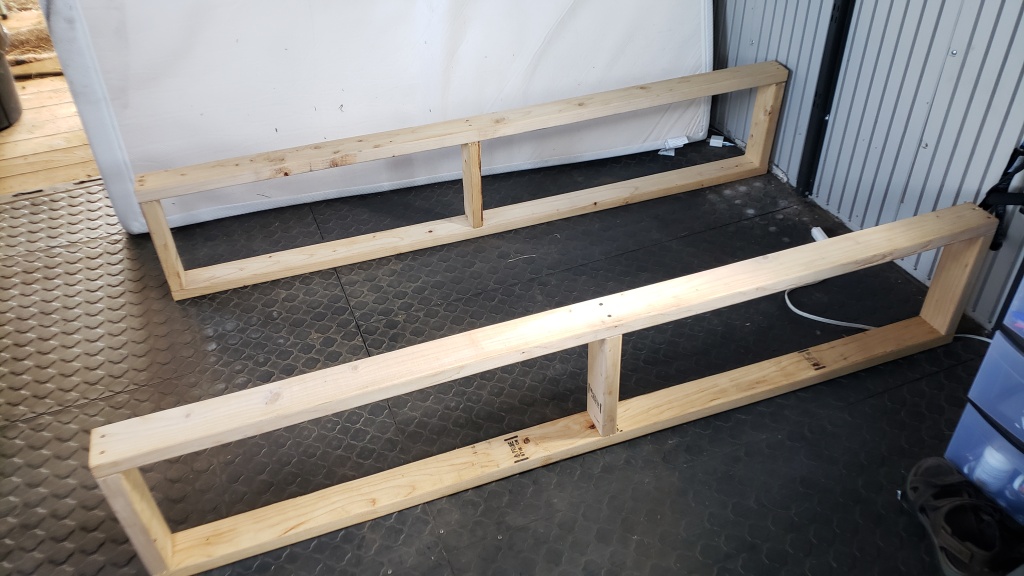
The only things I had to buy for this project were metal corner braces and a few wood screws.
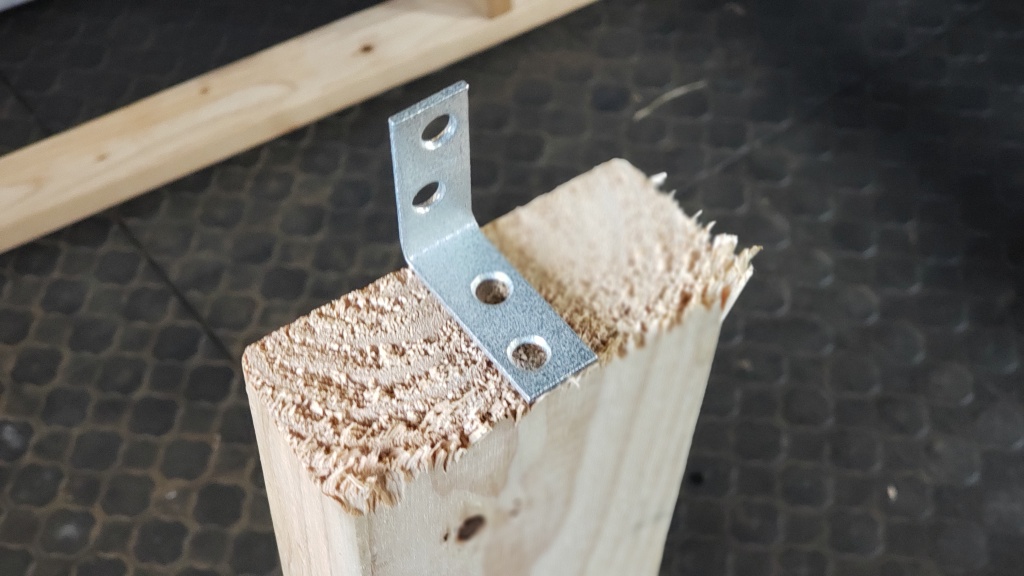
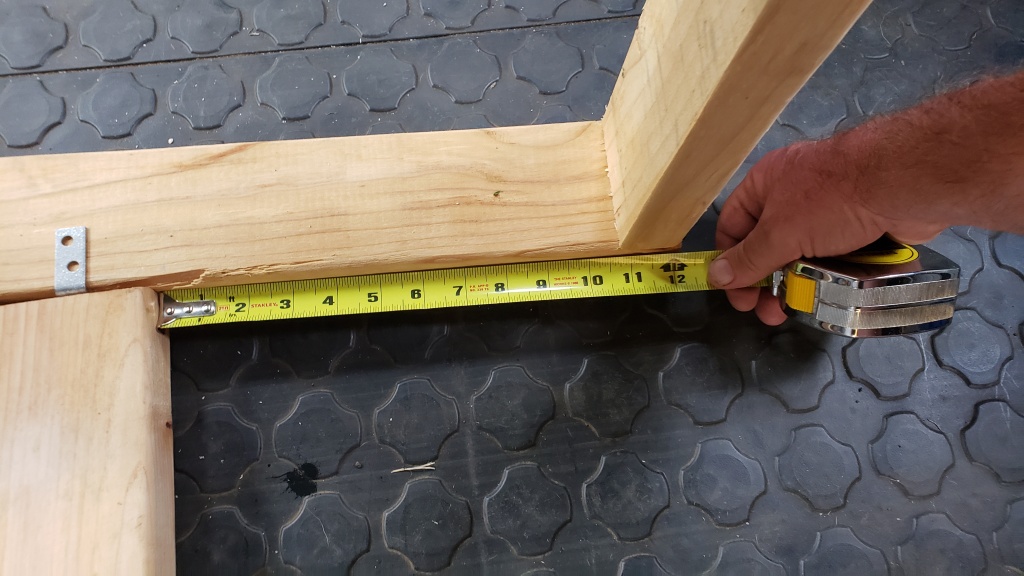
Recessing the horizontal supports makes for better distribution of stresses.
The top of the bed is its slats. A typical platform bed would have a solid top. But memory
foam mattresses have stiff bottoms, making them easily sturdy enough to be supported by slats
a few inches apart. This also allows the mattress to breathe, minimizing the chances of fungal
growth.
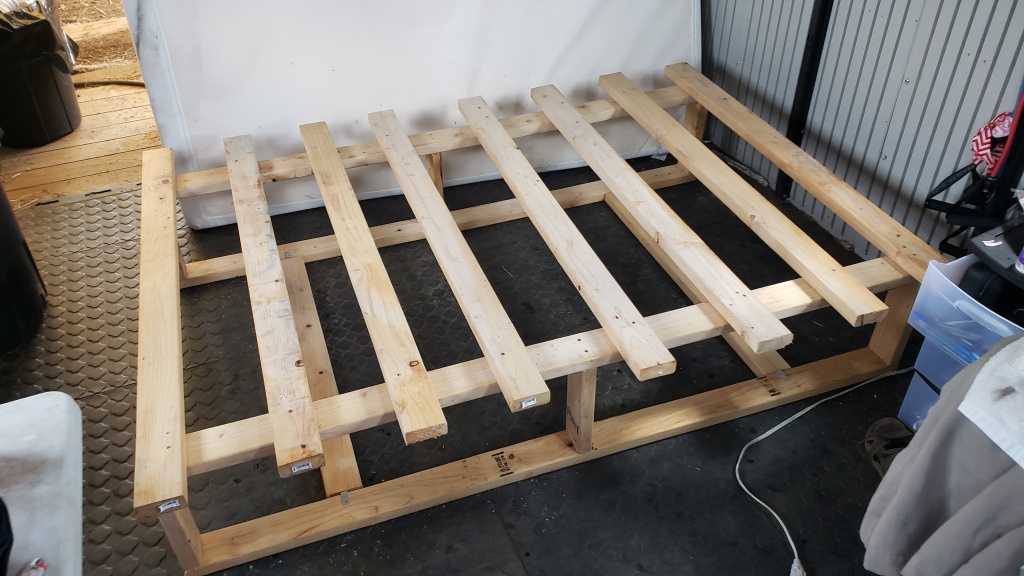
Once down, positioning the mattress and putting lines on the bed was a simple matter.
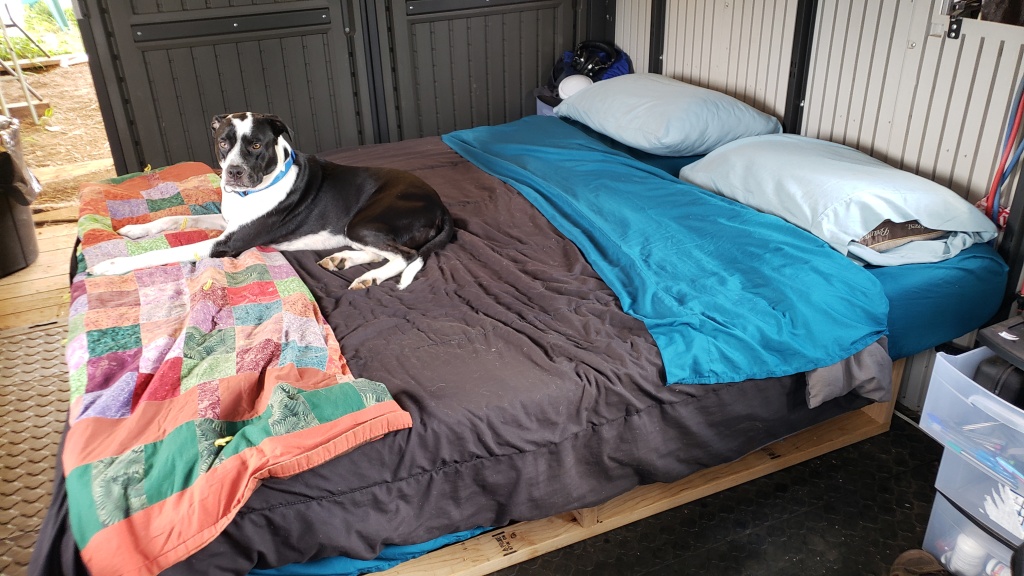
And Lilly immediately took up position beneath the bed, as if nothing had changed.
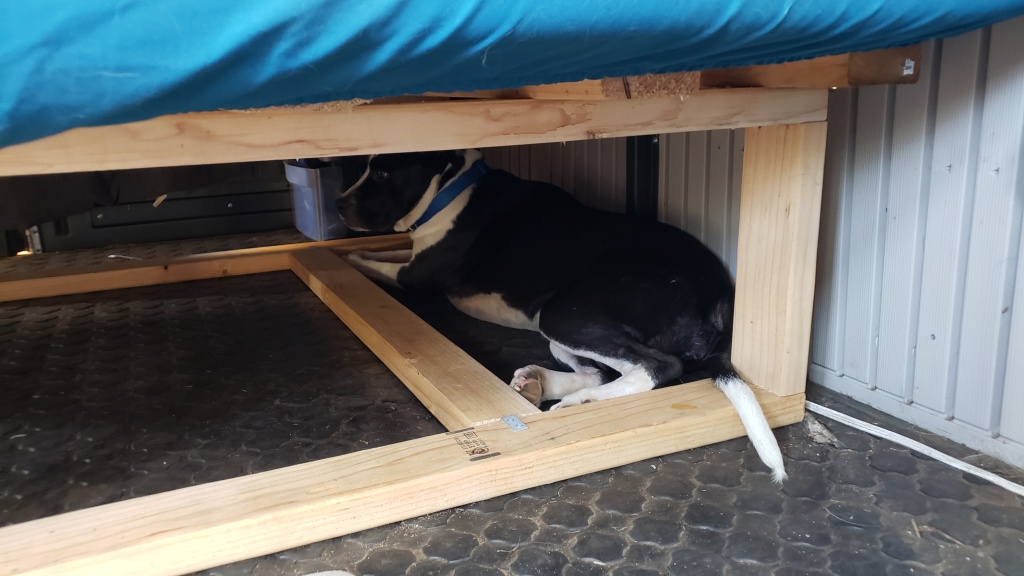
Except now, she doesn't have to worry about being squashed if Keith or I get on the bed
while she's down there!
P.S.: There's nothing more satisfying than sleeping on a bed you've actually constructed yourself.