|
By: Paul S Cilwa |
Posted: 3/15/2017 |
|
Page Views: 3,202 |
| Hashtags: #Photography |
| How to arrange and tag your digital photos so you and your descendants can find the one they're looking for. |
| Estimated reading time: 9 minute(s) (1909 words) |
Go Digital!
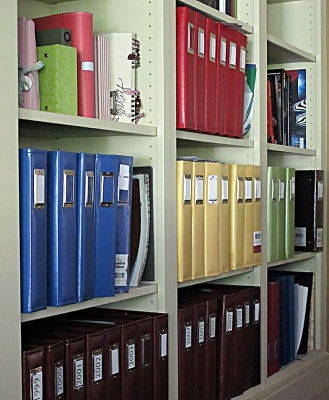
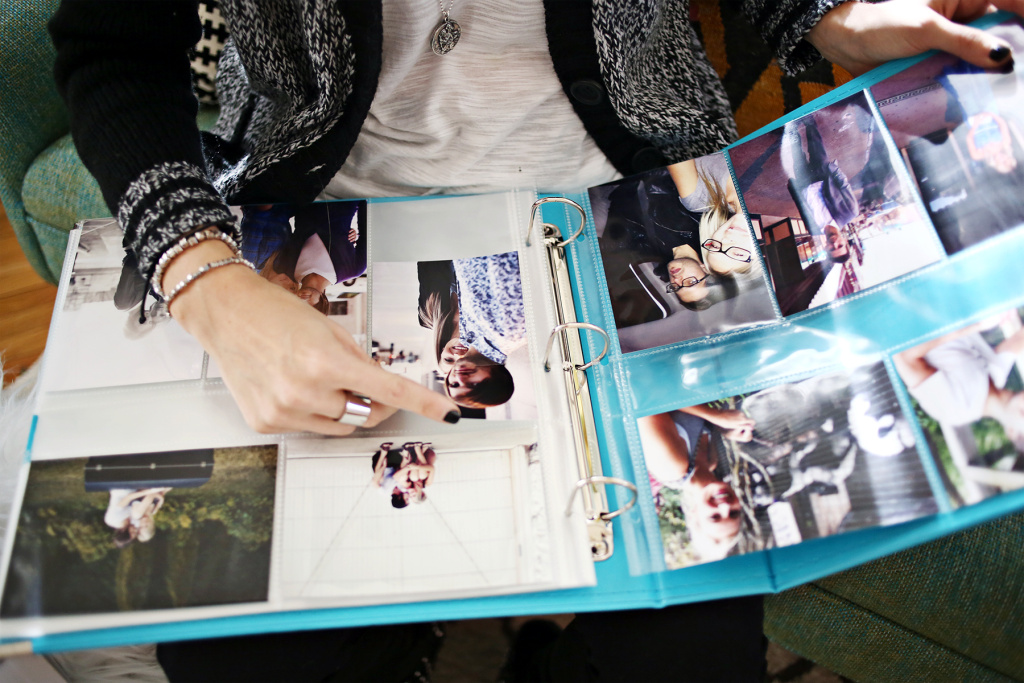
First, let me mention the value of letting your computer be your primary storage mechanism. You may prefer (as Snow does)
to sit in an easy chair on a rainy day and page through memories; but prints, which, after all, are subject to fading and fungal
damage through the years, should be your secondary storage. Digital images, stored on computer-readable media, are the
only way to guaranteed archival quality storage. If you want that photo you just took of your new baby to be enjoyed
by that baby's great-grandchild, you need to plan on passing on the digital photo, not one printed on a piece of paper.
Now, of course you know that computers can crash and hard disks can fail. (And so can roofs and a heavy rain can
ruin paper photos almost as quickly as a lightning bolt can take out your computer.) But the value of digitizing (or keeping the
digital original) is twofold: Storage space is the slimmest fraction of what is required by paper photos; and because every copy is
a perfect replica of the original, precious pictures can be stored in multiple locations to guarantee at least one survives.
For example, you can copy all your family photos onto CDs or DVDs and send them to all your family members. Not only do they make
thoughtful and unique gifts, but if your computer crashes or you misplace your copy of the DVD, you know who to ask
to borrow so you can restore what was lost.
Besides, you can always make prints of your digital photos, either on your own printer, or by sending them online to CVS or Walgreen's
or Snapfish or any number of other professionals.
Using Folders to Organize
Both Windows and Mac computers use the metaphor of "file folders" to organize all the information they contain. This includes
the computer's own operating system as well as all your personal files: Your taxes, your essay on Iguanas of the Lower Keys, and, of course,
your photos. Most operating systems create at least one default folder for pictures. In Windows, it's called
My Pictures, and there's a separate one for each User you've created on the machine. In addition, there's a
Public Pictures folder that all Users share. In Windows Vista and above, each user also has a Library called Pictures
that seamlessly combines that user's My Pictures and Public Pictures.
"Pictures" is intentionally vague, as it can include memes, cartoons, drawings, digitized paintings, and any other
artwork you can digitize. But it also includes photographs. I recommend that you use the My Pictures folder as a starting
point only, and create subfolders as needed.
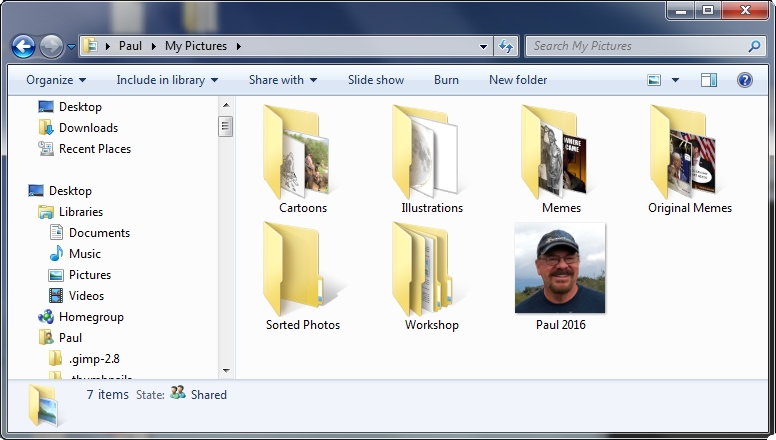
I have two main folders for photos: Sorted Photos contains the pictures I am done with: I figured out where and when
they were taken, who was in them, and retouched/cropped/color-corrected as needed. Workshop contains photos I've digitized,
but am missing some aspect of a "sorted" photo: Not yet corrected or identified.
The Workshop folder is, basically, my shoebox.
The Sorted Photos folder is my "final" storage. It's the folder I copy onto a DVD when I want to make sure my kids
have the latest, full set.
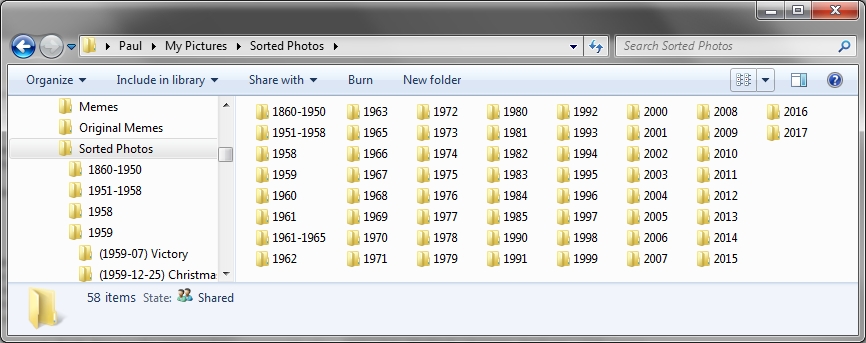
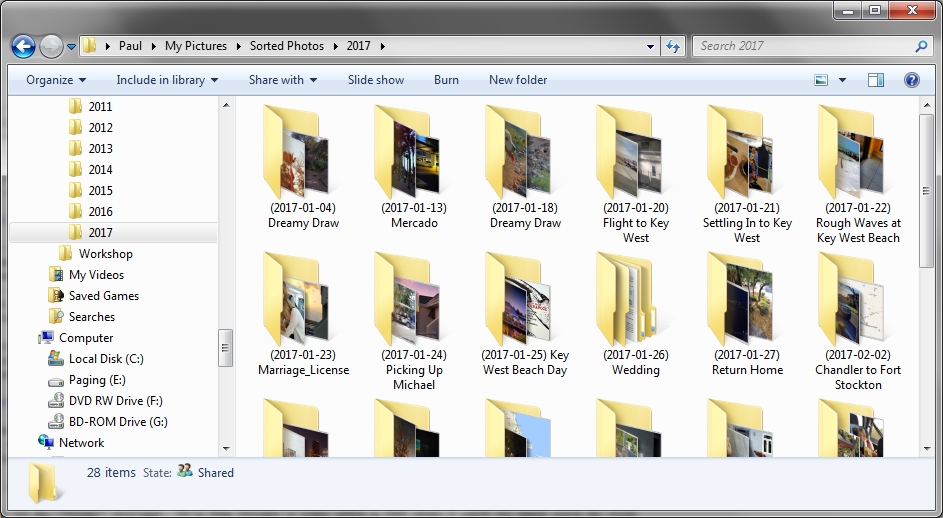
As you can see, I have created a folder for each year (or, in some cases, range of years) for which I have photos.
In each year, I place a folder with all the photos taken on a given day. Usually, something was "going on" that day;
if so, I describe that in a few words. But the most important thing is the date, which I place within parentheses and
format yyyy-mm-dd so that all photo sets will sort in chronological order.
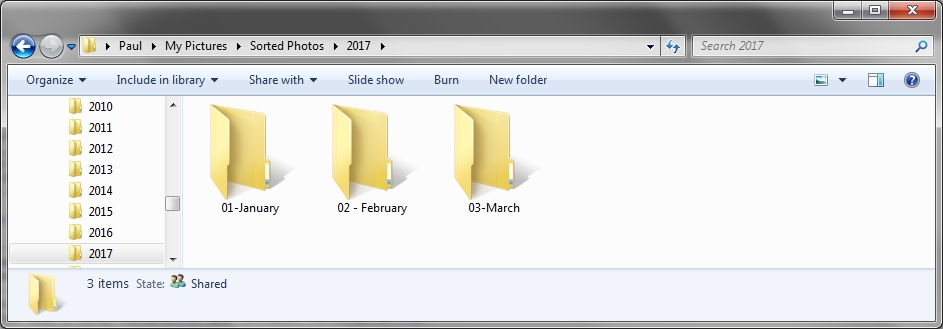
You might also consider sub-dividing each year into 12 sub-folders, if you have many photo ops in the same
month. But again, make (or at least, start) the folder name with the month's ordinal position, remembering to use
leading zeroes, if needed, for sorting. For example:
Sometimes, there will be a case where a single event took a whole day, but produced so many photos that you really need to
divide things further. For example, my daughter's wedding, as originally photographed, produced 388 photos! So I divided the
event into five sections:
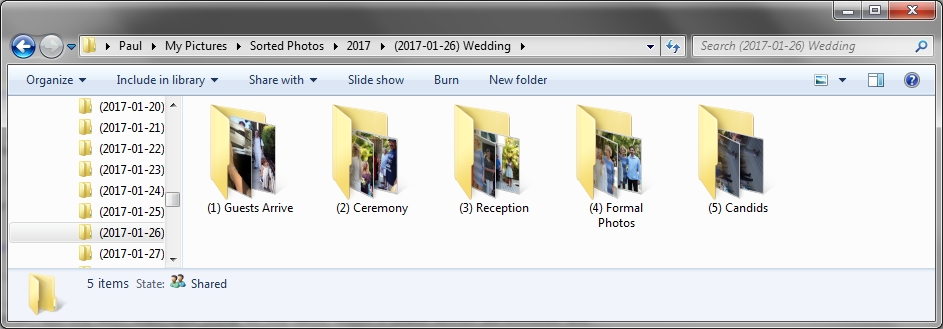
Note that each sub-folder begins with a number in parentheses. This is, again, intended to sort the photos chronologically. (If you
prefer to use an hour of the day, remember to use 24-hour clock so that 1000 (10 AM) will sort ahead of 1400 (2 PM).
Naming Your Photos
Any digital photo, whether you just scanned it or just took it, is named automatically, because every file must have a name.
Generally, though, the names aren't very meaningful. My digital camera still names photos sequentially: IMG_0041 and so on. Newer cameras,
including those in cellphones, usually turn the time and date the photo was taken into a name: 20170126_091225.jpg might be the name
of a photo taken on January 26th, 2017, at 9:12 AM (and 25 seconds). However, the format might be somewhat different (for example, 17 instead of
2017, no dashes, more dashes, etc.) so that if the pictures are simply merged, they will not sort in a chronological order.
And, in case you haven't figured it out yet, sorting is organizing!
So it helps to be able to rename all photos to a common format, if the sequence is at all important. (A batch of photos taken the
same day in the same living room in 1952 doesn't need to be in sequential order; that order can probably never be determined anyway.)
But this can be a challenge. Fortunately, there's a very useful and free piece of software called the Bulk Rename Utility that can
not only rename files, but do it on the basis of dates and times stored within the photo itself.
You can download the app from here.
After installing, go to the folder whose names you want to adjust, right-click on the name of the folder, and select Bulk Rename Here
from the context menu. That will bring up the app. Select Renaming Options -> ID3/Exif Data -> Extract Exif Data (Photos). (Exif data
is what the information embedded in a digital photo is called. Digital photos, in addition to the actual picture, can also contain all kinds of
information: Who took the photo, the make of camera or scanner, exposure information, and even a title and description!)

After clicking Extract Exif Data you'll be asked to refresh the window (by pressing the F5 key). That adds a column:
the date and time the photo was Taken (Original). If you click on that column header, it will sort the photos in that folder by
the actual time the photo was taken, according to the camera that took it. (If a photo is missing that information for whatever reason,
the field will be blank and that/those pics will sort to the top.)
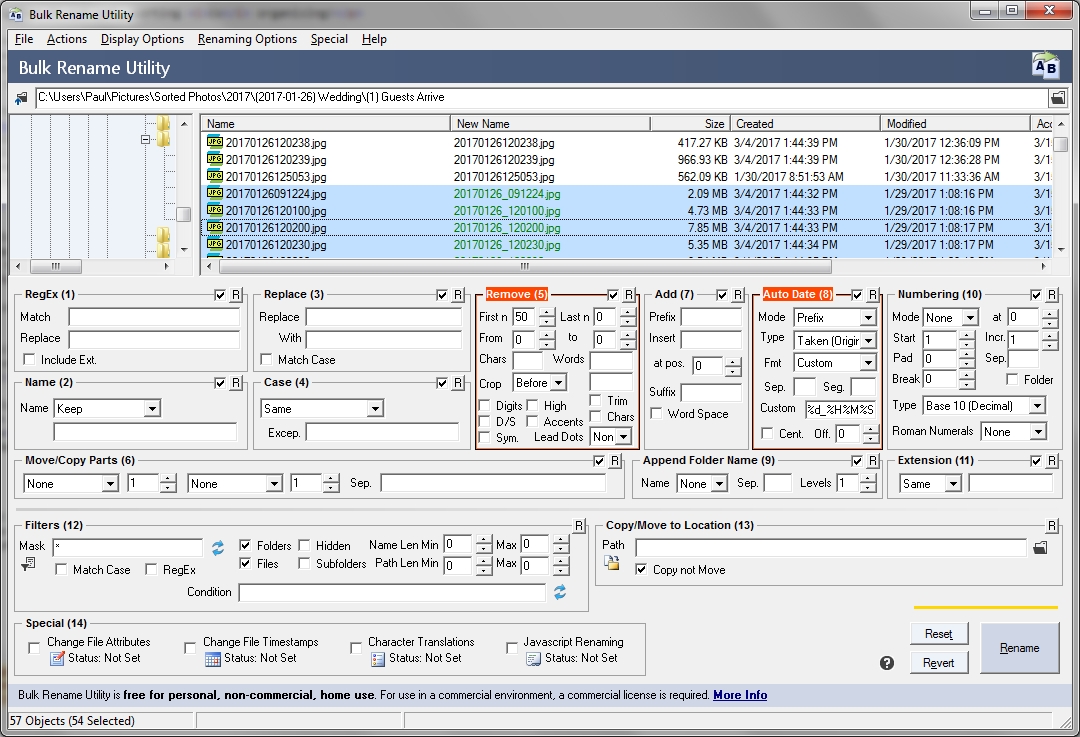
To rename your files to a consistent datetime format:
Select all files (click in the file area, then press Ctrl+A).
In section Remove (5), state you want to remove all characters in the current file name by putting in a big number (like 50 or 100).
In Auto Date (8), use these settings:
Mode: Prefix
Type: Taken (Original)
Fmt: Custom
Custom: %Y%m%d_%H%M%S
You can see what the result will be in the file area, where the current and proposed names are shown side-by-side.
Obviously, you will need to de-select any files without datetime data. But once you have, you can click the Rename button at the bottom right,
and voila!—your photos are named consistently and will sort in the order taken, even if this is a blending of photos taken by different
sources.
Documenting
The preceding steps are all that are needed to organize your photos by date, which is almost always the easiest way to find what you are
looking for. However, there is the potential for providing additional information into the photo itself, using EXIF data. This is information
stored in the photo file itself, in addition to the actual photo. It's the ideal place to add documentation: Who is in the photo? Where was it taken?
Who took it? What is it about?
You may also add keywords, which can make it easy later to find all photos with #Clocks, or #Beach, or #Kids.
Your scanner, digital camera, and cellphone camera all add information to the photo already. Usually, this does include the date the photo was taken,
as described in the previous section. It can also include technical information such as virtual "film" speed, shutter speed, F-stop, and so on.
But, with the right software, you can add much more contextual information.
Many digital photo apps allow the user to add or view this information.
However, if yours doesn't, you can use an app like the free Exif Pilot to view and/or modify EXIF information, including a description. You can
download it here.
After installing, you can run it, locate the folder containing the photos with which you wish to work, and the EXIF data for any photo you select
will appear in the panel on the right.
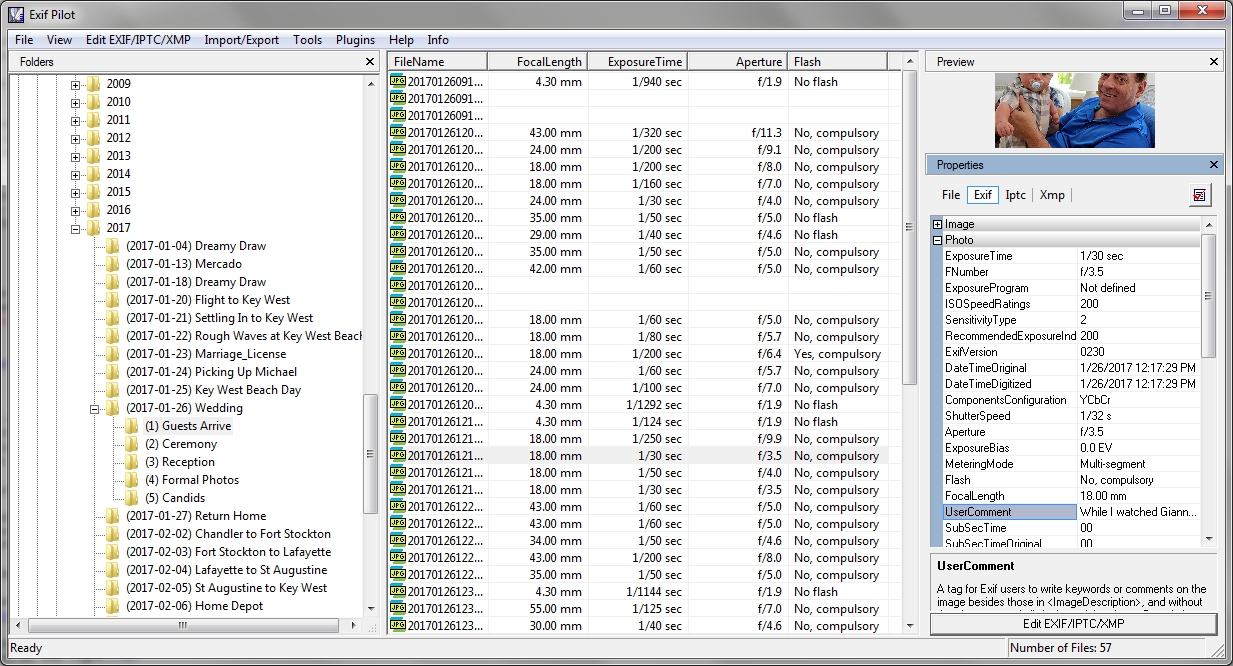
After selecting a file, you can select Edit EXIF/IPTC/XMP to bring up a handy dialog box that allows you to add a description, author, and
other information to the photo.

Get To Work!
That is the bare information you need to get started organizing and documenting your photos today. Have fun!