|
By: Paul S Cilwa |
Posted: 8/27/2017 |
|
Page Views: 4,135 |
| Hashtags: #Music #Ripping #SpeSoftFreeCDRipper |
| Complete instructions on how to use SpeSoft Free CD Ripper to safely and legally back up your CDs. |
| Estimated reading time: 5 minute(s) (1143 words) |
First, how to obtain it. SpeSoft has since folded this app into their Convert-It line, and these days
they host it themselves, so you can get it straight from the
Convert-It CD-Ripper page. Be aware that it's now
offered as a free trial rather than outright freeware, and that the screens below are from the older
SpeSoft release I still use—but it works the same way.
Second, if you plan on ripping more than one CD, you might consider
adding SpeSoft Free CD Ripper to your AutoPlay options.
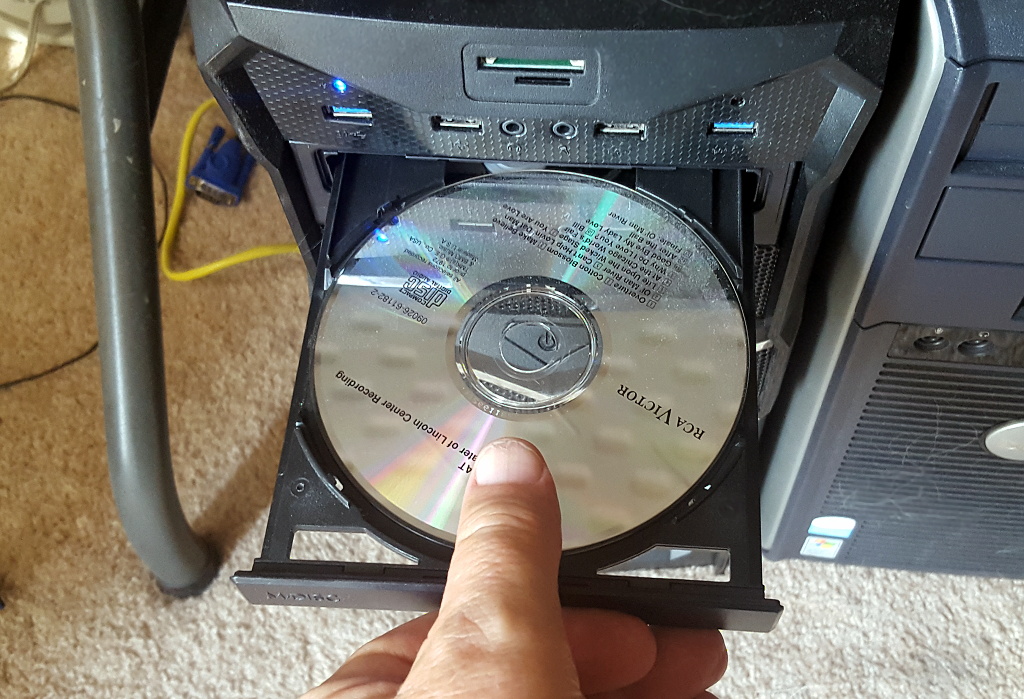
Now, insert your CD into the drive in your computer. If you've done step 2 above, SpeSoft will start automatically.
Otherwise, you'll have to start it manually. Either way, the main screen will appear.
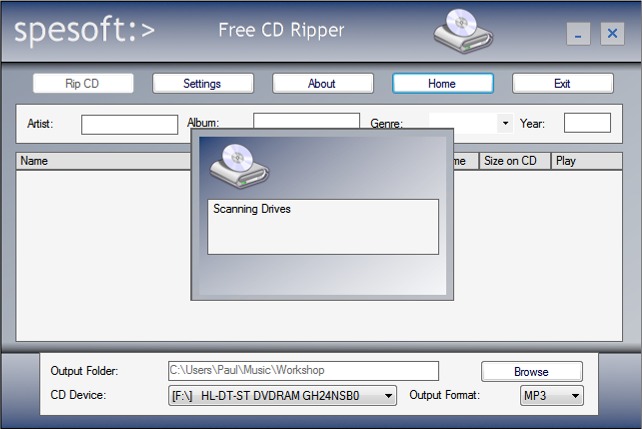
It takes a moment to scan your
removable drives, and then to look your CD up at Discogs.com
to populate the track names and other information.
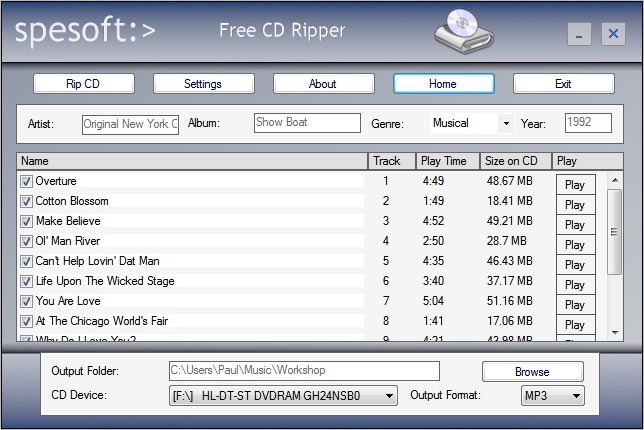
It's unlikely that your commercial CD hasn't already been cataloged by Discogs. However, if you are ripping
a CD you, yourself, made previously—a custom mix CD—then, obviously, you'll have to enter the information manually,
yourself. SpeSoft will name the tracks "Track 1", "Track 2", and so on. You can easily change these
default values to the actual song titles. You'll also want to verify, and perhaps correct, the artist, genre, year and album names.
SpeSoft will not tag individual artists on a per-track basis; in the case of a mix CD or compilation, the same artist
will be repeated on each song. In such a case, I change the artist to "Various Artists" and correct the individual tracks
during my Polishing step.
At the bottom right, notice a dropdown that allows you to select the CD drive, if you have more than one. (If
you change drives at this time, the app will reload song titles and info from the CD in the new drive. Of course.)
Now, before you actually start the ripping process, I strongly recommend you click Settings.
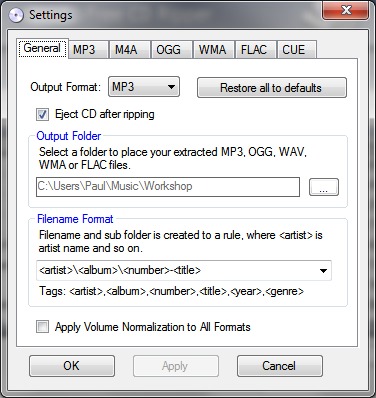
You'll notice I have specified a subfolder within My Music, Workshop, as the top-level recipient of the ripped files.
That's where I put ripped music until I've had a chance to polish it. The Filename Format, set to
"<artist>\<album>\<number>-<title>", follows my preferences for pre-polishing naming.
(I make slight alterations to the actual file names so I can tell at a glance whether they've been polished or not,
but the folder convention will be retained.)
I have checked Eject CD after ripping; that's just a personal preference. But I do not recommend checking the
Apply Volume Normalization to All Formats, as the normalization is applied to each track independently, thus not
retaining the relative volumes of each track to the others. (On most albums, a ballad, for example, is supposed to be
a little quieter than a dance tune.) I recommend an app for doing album-level normalization in my
Polishing section.
The additional tabs provide options that are unique to each digital audio format SpeSoft Free CD Ripper supports.
Many of these formats are not supported by Windows Media Player or bundled ripping software, which is one of the
reasons I use SpeSoft to begin with. (Even though I generally prefer MP3s, FLACs are sometimes a better choice for complex
music such as classical.)
The MP3 tab provides for choosing rip quality.
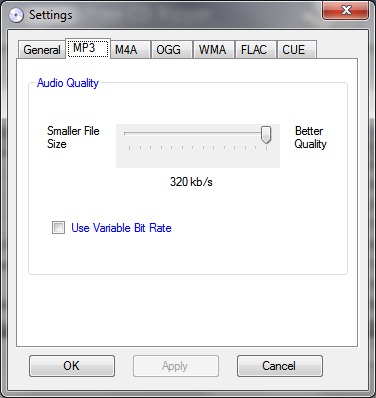
As you can see, I always rip to the maximum quality level of 360 Kbp/s (kilobits per second). You can safely
drop to 256 Kbp/s to save space, if that's more important to you than sound quality. I would never go lower than 192.
I have not checked the Use Variable Bit Rate option.
When encoding audio or video, there is typically an option to use
either Variable Bit Rate (VBR) or Constant Bit Rate (CBR) encoding.
VBR uses an algorithm to efficiently compress the media, varying
between low and high bitrates depending on the complexity of the
data at a given moment. CBR, in contrast, compresses the file using
the same bit rate throughout. VBR is more efficient than CBR, and
can therefore deliver content of comparable quality in a smaller
file size, which sounds attractive, yes?
Unfortunately, there's a disadvantage to VBR in that not every player can handle them. And it's always a rude surprise
when you discover one that can't. VBR can also be a problem with streaming. So I go with CBR; it doesn't really make that
much difference, anyway.
The only other file type I'm interested in, is FLAC, the Free Lossless Audio Codec.
Now, the audio compression level here has a completely different effect than on lossy formats (like MP3).
Since FLAC is, by definition and design, lossless, the compression level has absolutely no effect
on the audio quality of the result. The only difference is in the amount of time it takes to encode,
and just how compressed it is (in other words, how much space the resulting file will take up.
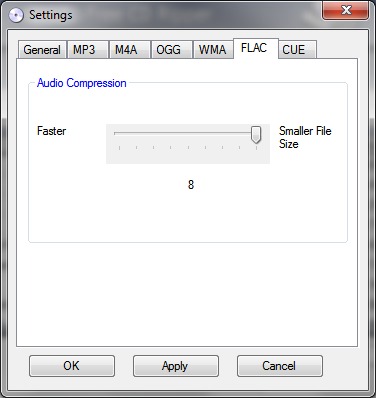
The difference in encoding time, for a single song, can differ by a factor of 7. The savings in storage space is
significant but not overwhelming. Still, given that each file need be encoded just once no matter how many times you
play it, while storage is forever—well, I set it to maximum compression and get a cup of coffee while
SpeSoft is ripping.
Once you've gotten the settings where you like them, click OK to return to the main screen.
At the bottom right, notice the dropdown list (currently says "MP3") from which you select the desired format.
When you've got it all set, you're ready to click the Rip CD button.
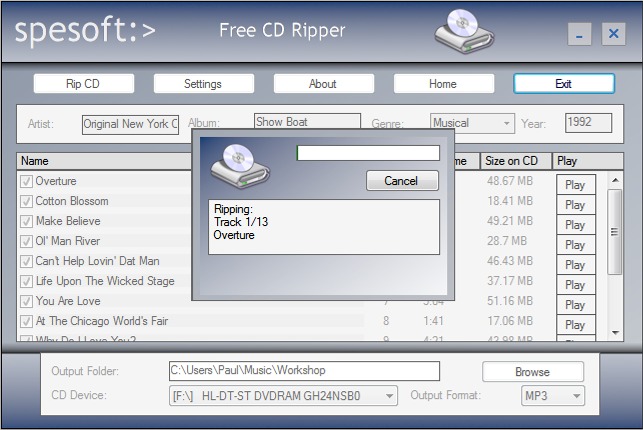
And that's it! The ripping process can take anywhere from 5 to 15 minutes or more, depending on compression
levels and your own computer speed, plus how much else you may be doing on that computer at the same time.
When the ripping has completed, you can play the results immediately. However, I normally do some
polishing
(volume normalization, removal of leading and trailing silence, and tweaking the tags and providing cover art)
before moving the album into my completed music folder.