|
By: Paul S Cilwa |
Posted: 8/27/2017 |
|
Page Views: 3,739 |
| Hashtags: #Music #Ripping #WindowsMediaPlayer |
| Complete instruction on how to use Windows Media Player 11 to safely and legally back up your CDs. |
| Estimated reading time: 5 minute(s) (1166 words) |
You've probably noticed that Windows has already created for you a folder
named My Music. By default, Windows Media Player will place your music there.
Now, Windows Media Player does have a small downside. By default, it prefers
to create, not MP3s or FLACs but a proprietary format of its own called WMA. The biggest
difference between the formats is that WMA comes with "Digital Rights
Management" built in. DRM isn't there for your protection. It's
Microsoft's way of assuring the major record labels that you will not share
music from your CDs with anyone else…or on any other computer, even
though you are legally allowed to copy MP3s from your home computer to your
laptop, for example. With DRM you have to rip your CDs repeatedly. If not today,
when (not if) you have to reinstall Windows.
In the years since DRM came out, most manufacturers have realized that it is
more trouble than it's worth, for them as well as the customer; and newer
devices no longer use it.
So Windows Media Player 11 allows one to create MP3s as well as WMAs. It's
just not the default. (It will not allow one to create uncompressed FLAC files,
though it will encode uncompressed WAV files.)
To set up Windows Media Player 11 so that it will rip MP3s for you, you need to start it
it'll be in the menu), then click on the little arrow beneath the "Rip" tab and click on "More Options".
That will bring up the Options dialog, which you should make look like this:
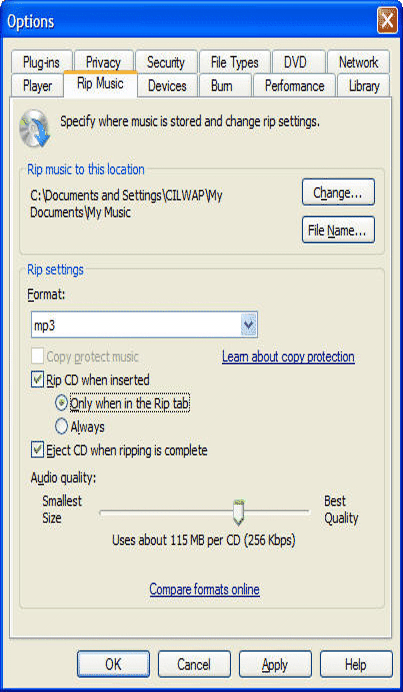
Specifically, in the Rip Settings area, from the Format list choose "mp3";
then (this is just a suggestion) check "Rip CD when inserted" and "Only when in
the Rip tab". Also I recommend checking "Eject CD when ripping is complete".
Now, this is very important: The Audio Quality slider control needs to be set
no lower than 256 Kbps. That's the setting I used until hard drive storage became more affordable;
I was happy enough with it but I now use the MP3 maximum of 360 Kbps.
I do have one friend who swears he can tell the different between 320 Kbps and uncompressed files (such as WAV),
but my ears are pretty good and I can't. (Of course, he may
just have higher quality speakers than I do.) The larger the number, the higher
the quality, but also the larger the file. Feel free to experience with
different kinds of music, because lower bit rates work better on some kinds of
material than others. For example, I often use rates as low as 160 Kbps on some
of the more painfully recorded, unremastered stuff from the early sixties.
While you have the Options dialog up, click the "Devices" tab and look at the
list of devices on your computer. One of them will be your CD drive. The exact
naming of this device will vary depending on the PC. On mine, the tab looks like
this:
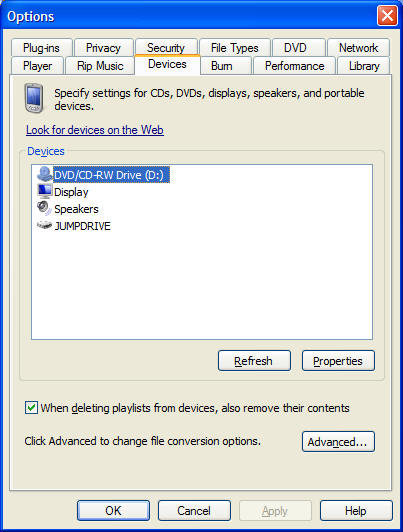
Select your CD drive, then click the Properties button. That will bring up
another little dialog box:
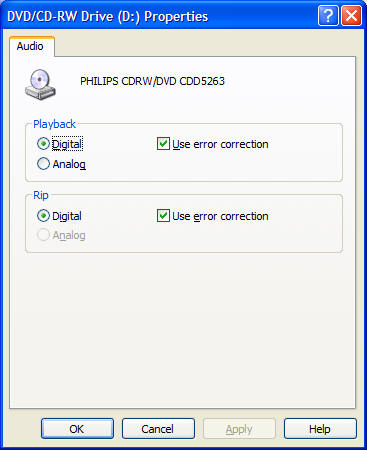
It's very important that you check "Use error correction" for the Rip area.
And there's no harm checking it for Playback as well.
After you've hit the OK button twice, you're ready to rip.
Now, if WMP is not running when you insert your audio CD, Windows will
pop up a box that asks if you want to play the CD, or rip it.
Whichever you choose, will be pre-selected the next time. But if WMP is
running, and you have clicked the "Rip" tab, the ripping will start
automatically, with WMP looking something like this as it proceeds.
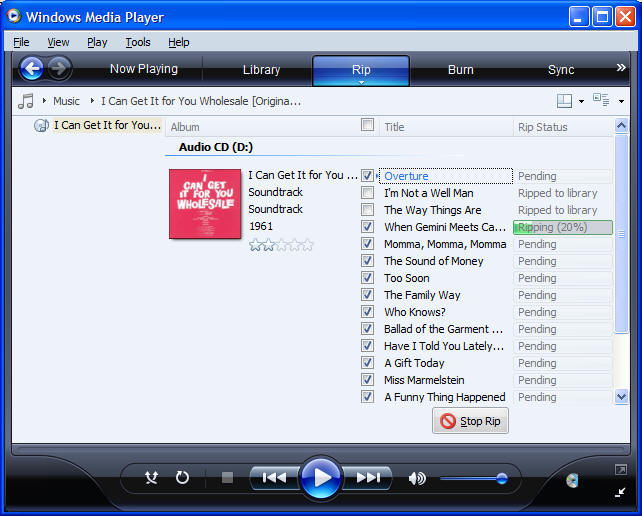
All this information was obtained from the Internet; most CDs do not contain
album data, not even the track names. (Some do, but most do not.)
Now, as it happens, this information is not 100% correct.
I Can Get It For You Wholesale is not a movie soundtrack; it's a Broadway musical
original cast album. However, you can change whatever you want. For example,
right-click on the upper "Soundtrack" (the artist) and click "Edit"; then change
"Soundtrack" to "Original Cast". Right-click on the lower "Soundtrack" (the
genre) and change that to "Musical".
There's a long list of "standard" genres but the important thing is that you
be consistent; because if you're just in the mood to listen to musicals, WMP
will happily play through all of them.
When the CD is finished ripping, its drawer will eject and you can put it
back in its crystal case. Now, click the Library tab. On the left side are the
general sort of things you can look for; if I click on Album and then scroll the
list on the right until I get to "I", I can locate the album I just ripped by
name. Alternatively, you could click on album and then type all or part of its
name in the Search box.
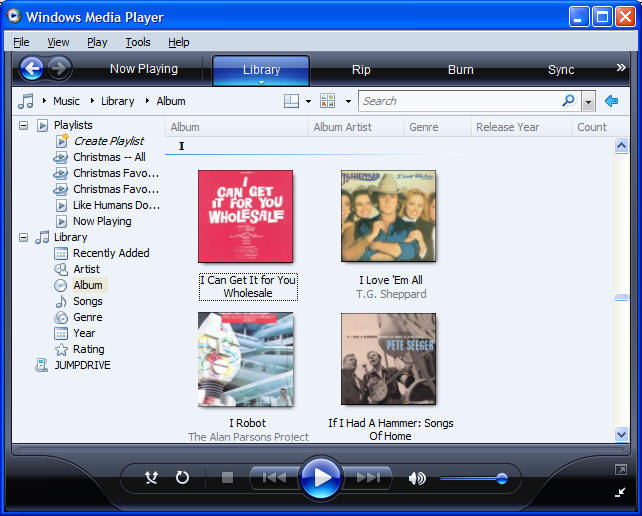
A double-click on the album will "open" it:
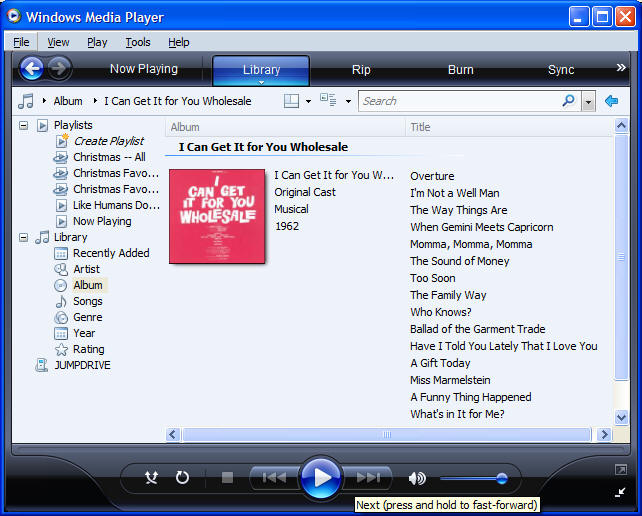
You can now play the album by right-clicking on the album cover and choosing
"Play", or play only selected songs by clicking on them and clicking Play. (To
select other songs after the first, hold the control key down while clicking,
just as you do in any other Windows application.) You can also click "Add to Now
Playing" if you want to play this song after whatever you've already chosen.
Now, let's find where WMP has put these MP3 files.
In Windows or Vista, click on the Start menu button and then on My Music.
Your My Music folder will open, and it will contain a folder named after the
album artist (which I changed to "Original Cast").
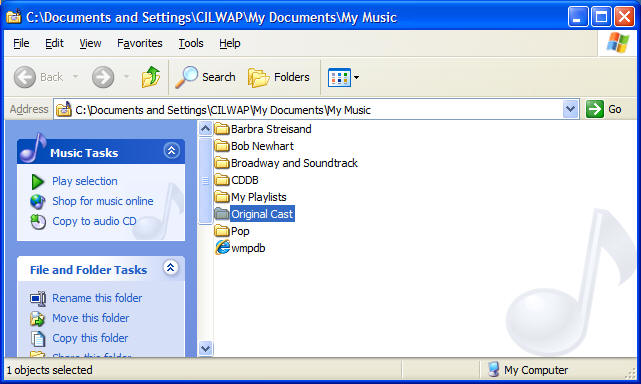
Within that folder is another. You'll want to View that folder's
Thumbnails (View..Thumbnails menu). It's just like looking at a
rack in a record store!
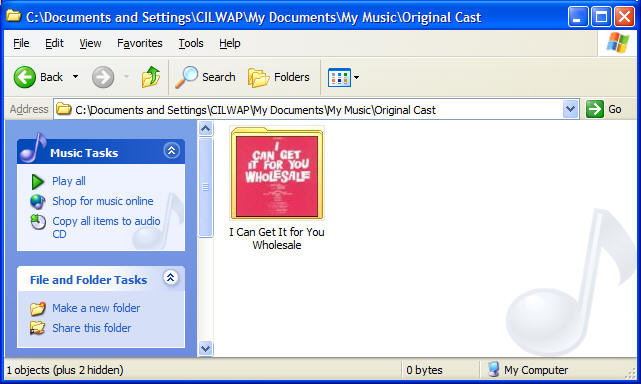
The MP3 tracks are in that folder.
Now, you could stop at this point. Most people do. But in a subsequent
post, I'll show you how you can further polish your digital audio files for best use.