|
By: Paul S Cilwa |
Posted: 3/27/2007
Updated: 9/16/2017 |
|
Page Views: 3,352 |
| Hashtags: #DigitalPhotography |
| When scanning or saving digital photos, you'll want to know how much resolution you need. |
| Estimated reading time: 7 minute(s) (1467 words) |
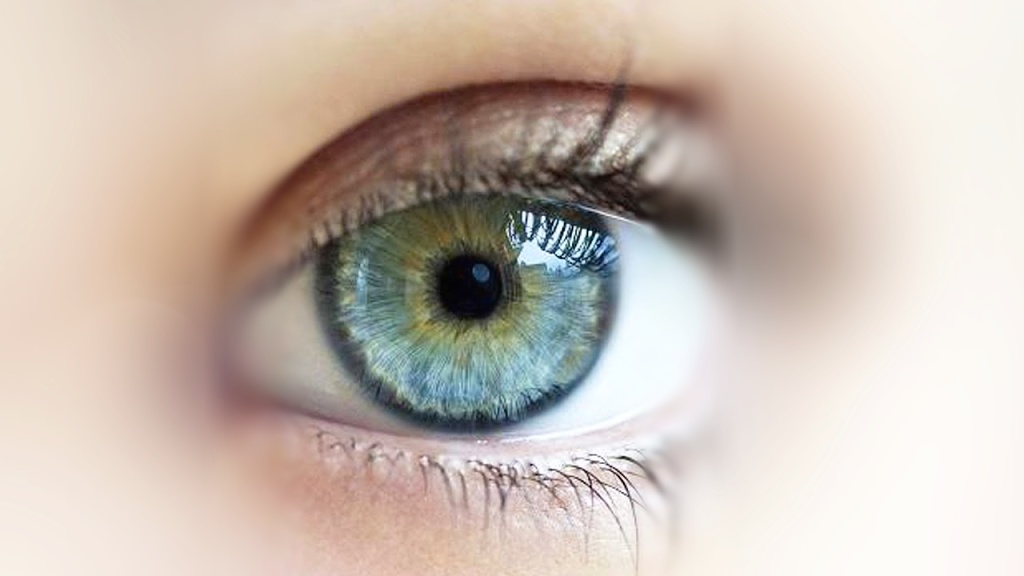
So you can go the other way, and ask for a high-resolution scan. Now the
pixels are tiny, so there are a great many of them—millions of them, in
fact. Now you can get big enlargements made, but the files will be bigger.
A fair compromise is to get the equivalent of what you get with a 5.1
megapixel (or so) digital camera. With that over five million pixels, you can
get excellent 8 x 10" (or larger) enlargements made of your image, should you
ever wish to do so.
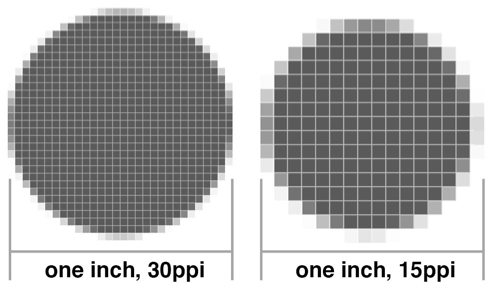
Your scanner will talk about DPI (dots per inch) or PPI (pixels per inch).
The two acronyms are synonymous, because Dots = Pixels. DPI is used more with
paper; PPI used more with computer monitors; but they are the same. Do note,
though, that printer dots are smaller than monitor dots; so a resolution that
looks great on your screen, might not print out as an enlargement, as clearly as
you expected.
The basic formula is (of course):
which can also be expressed as
or
Inches, in this case, is the size of the larger of the original image or the largest
enlargement you'd like to print. Your printer will tell you what
size dots it uses; modern photo printers typically boast resolution
of well over a thousand dots per inch. The absolute minimum for a
clear photo, in my opinion (and this is subject to opinion)
is 800 PPI. (Many people argue that 300 PPI is adequate. And it's
true, a lot depends on the clarity of the original photo: If it
started out fuzzy, more dots on the printer won't clear it up.)
So, let's say you are starting out with a 4 x 6" photo that you would like to
scan, then enlarge to 8 x 10". The target is what you first need to calculate;
the scanned result will need to be
That's what is often called "5.1 megapixels". That's what good
quality digital cameras offered two or three years ago, meaning that
they were intended to produce photos that would make clear 8" x 10"
enlargements, if called upon to do so.
Therefore, regardless of the size of the original image you are
scanning—print, slide or negative—if you want to print an 8" x 10" enlargement
from it, you need to scan at a high enough resolution to produce (approximately)
5.1 megapixels. More than that won't help (or hurt), but fewer than that will
impact the clarity of the finished product.
So you'll need to scan the 4 x 6" original at about
Now, we've bypassed the issue of resolution, because the number of pixels is a
product of the resolution times the size of the image being scanned.
The resolution would have to be a lot higher for a tiny negative
than for a 4 x 6" print, to produce the same number of pixels. But
you can use the following formula to determine what the scanning
resolution should be somewhere between 450 and 500 pixels per inch.
(Exactly what choices are available to you depends on your scanner
and its software.)
If you are going to have your negatives and slides professionally scanned,
you can generally just tell the scanning people that you want 5.1 megapixel
results and they'll figure it out for you. If not, however, you can refer to
this table for common sizes:
| File Size |
PPI |
| 35mm |
2000 |
| 126 |
2200 |
| 127 |
1600 |
| 120/620 Square |
1100 |
| 120/620 Rectangular |
800 |
If you plan to make really large prints, perhaps of a beautiful slide you took with
your expensive film camera, don't hesitate to ask for a higher resolution—perhaps
as much as 12 megapixels or more, the density produced by today's state-of-the-art digital
cameras. Also, if you expect to do some heavy cropping—removing much of the outer
parts of the picture to "zoom in" on a distant subject, for example—you'll
obviously need to start out with a higher resolution.
The next question that will come up, should you decide to have your slides and
negatives professionally scanned, is: Should you request "raw" scans, or retouched
scans? The former is a lot cheaper, but you may be disappointed with the result if
image manipulation isn't something you're comfortable with. While the scanning company
will be automatically removing most blemishes from color slides and negatives (Digital
ICE doesn't work on black and white), and doing some color correction, I have
found that on older slides and negatives there is still work to be done, to correct for
uneven color shifting, for example, or unusually severe damage from scratches or
fungus. This work can be tedious, though I have found only I can do it to
my satisfaction!
Another common "fix" that can be made, either by the lab or by you, is removing "red
eye". As you surely know, when flash pictures are taken in dim light, the flash
illuminates the interior of your subjects' eyes, causing them to photograph a bright,
Satanic red. The problem is so common, and the fix so simple (change the red disk to
black, while retaining any white highlight that might be present) that just about every
photo-fixing program includes a feature to handle it easily. If you ask your lab to do
it, it generally doesn't add a lot over the general cost of retouching.
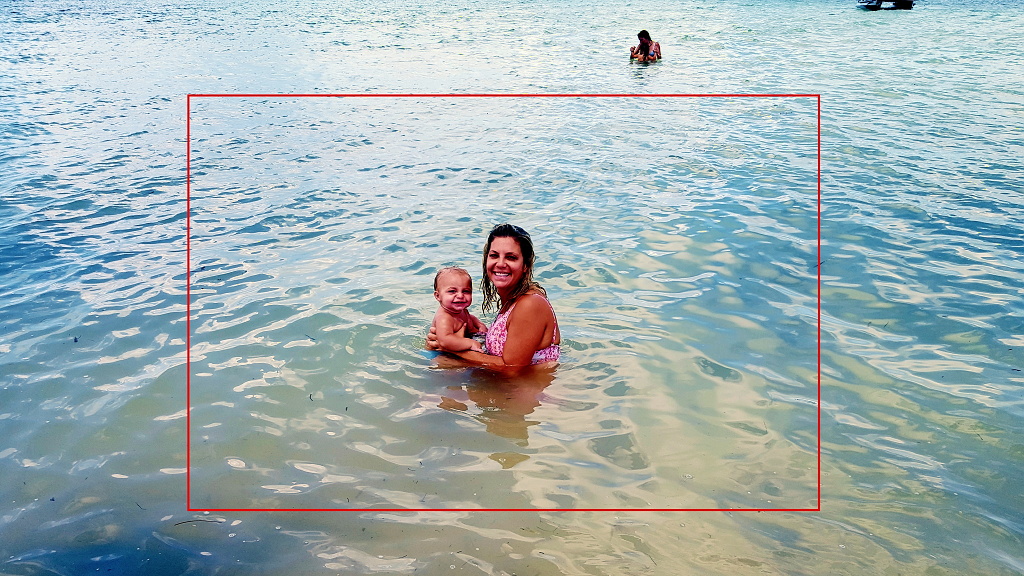
Cropping is something you'll just about have to do yourself, unless you have
no artistic sensibility at all. At issue is the fact that every camera has a
fixed area into which the picture is composed. (APS cameras had three, but the
principle is the same.) As you frame your shot, you do your best to work with that
area: You center your subject, or perhaps balance it with a tree or building or
interesting cloud. Another reason for cropping is to remove distracting or unrelated
items from the scene.
In the days of paper prints and enlargements, another compromise had to be made in
order to fit your photo onto the desired size paper. For example, if you enlarge a 35mm
negative so that the image fits the width of an 8" x 10" print, the sides of the image
will spill off the edge. On the other hand, if you fit the long dimension onto the 10"
of paper, the image will not reach to the 8" edges. This compromise was handled
automatically by the printer; but if you make your own enlargements it's something
you'll have to keep in mind.
And, besides, your computer monitor will probably be your photo display of choice
into the future. A standard-sized monitor uses a 4:3 ratio (the width of the screen is
four units to the height's three units) which will force cropping of nearly all
your photos if you want them to fit perfectly. Besides, the "widescreen" ratio of 16:9
is becoming popular; it's quite likely that within the next ten years, that's what
you'll be viewing your photos on. Before you can make all your photos fill the screen,
you don't even have to decide, now, which screen!
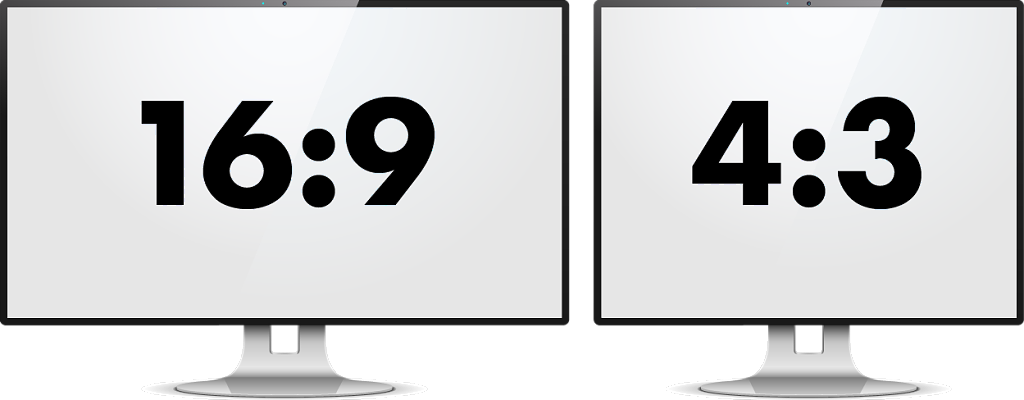
Fortunately, they don't have to. You can now crop your photos to show your subject
to its best effect, and let your monitor supply borders as needed. The Windows Slide
Show, provided in every version since Windows XP, as well as present in most modern photo
editing apps, built into any folder that contains photos, will handle the display job
automatically. All you have to worry about is the actual, original cropping.
While cropping, you should also make sure your photo is properly aligned. It's very
difficult to take a picture with the camera perfectly upright; but if you don't,
the resulting image will need to be rotated a degree or two. It's an easy thing to do
and all photo editing software helps you do it. Just don't forget—it does
need to be done.
Apart from color correcting, most photos benefit from adjusting the brightness,
contrast, and even color saturation (how bright/gray the colors should be). These
tweaks can be made to improve your photos. We'll examine some of these techniques in a
future entry.