|
By: Paul S Cilwa |
Posted: 3/16/2007 |
|
Page Views: 7,269 |
| Hashtags: #Photography #DigitalPhotography |
| How to scan your family photos and slides for posterity. |
| Estimated reading time: 7 minute(s) (1484 words) |
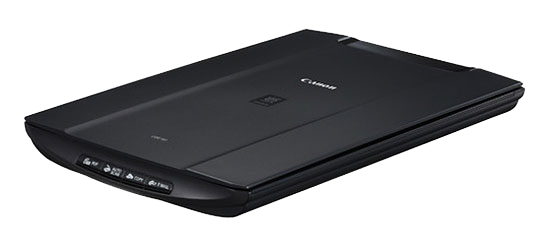
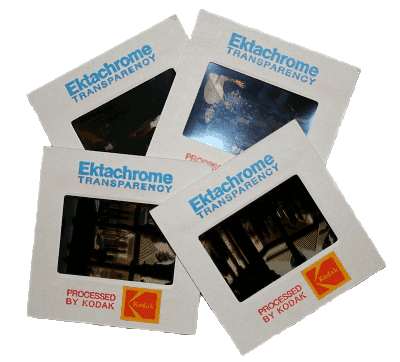
Until the introduction of digital cameras a few years ago, all photography
resulted in one or more of the following:
- Color (or, rarely, B&W) slides
- Color or B&W negatives
- Prints (including tintypes and their forerunners)
Slides are an end-product in themselves. While you might have made prints or
enlargements from special ones, in general the slide in its cardboard mount, perhaps
slipped into a plastic or metal slide projector tray, was the end of the road for that
picture. Fortunately, slides can be scanned directly, even if they're mounted in glass.
(There's a minor variation of this theme: unmounted slides. They are treated
identically to negatives; see below.)
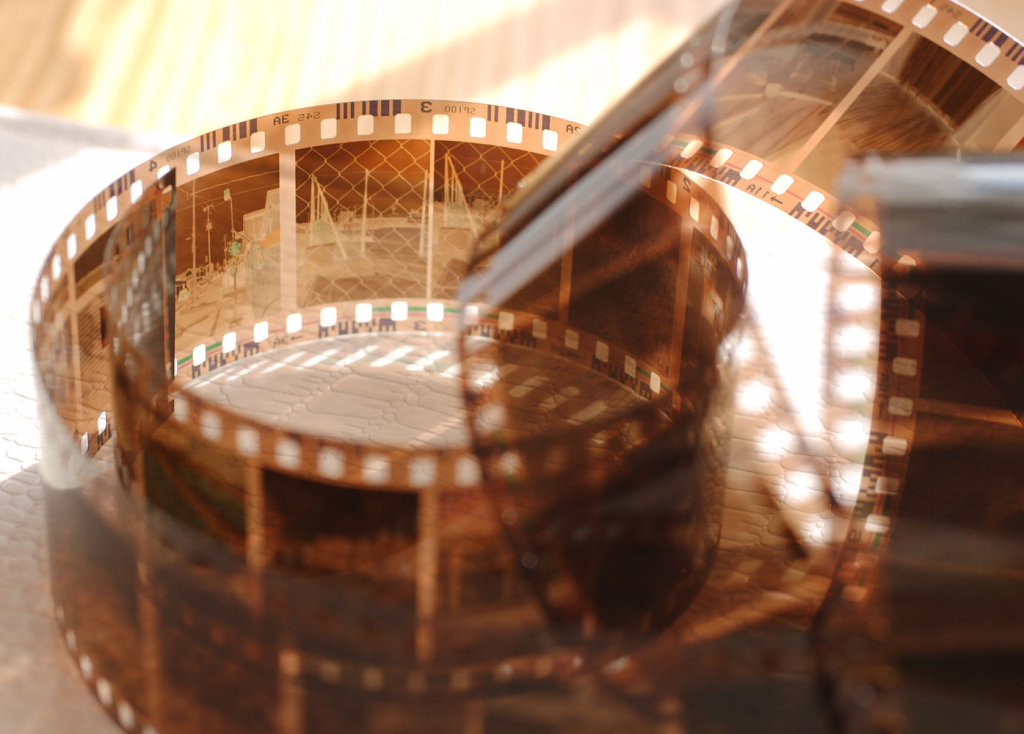
Negatives are most commonly found in the same envelopes as the prints they
produced. Prior to the 1980s, 35mm negatives were cut into strips of four or
five and simply dropped into the envelope, where they were exposed to scratching
simply as they rubbed one strip against the other. In the late 1970s or early
1980s, most processors began slipping the strips into independent plastic or wax
paper protectors, which protected them from dust as well as scratching, yet
allowed them to be inspected without removal. Home hobbyists who developed their
own film, or professional photographers by request, may have kept the negatives
uncut, on a single roll. The jury's still out on whether this was better for the
preservation of the film or not in the long run; but there's no argument that
such rolls can be most easily scanned in special film scanners made for the
purpose.
Not all negatives and slides were shot with 35mm film, of course. Popular
film sizes I've encountered are
120/620 (the film is essentially identical; the spools were different), 127,
126 (Instamatic) and 110. Another variant is 35mm "half-frame" format, in which
two pictures occupy the space of a single standard 35mm frame.
120/620 cameras took either rectangular photos, or square ones; and the
rectangular ones might be one of two sizes, depending on whether the long side
of the rectangle was perpendicular or parallel to the length of the film roll.
The negatives were the largest used by amateurs from the early 1900s on, and are
referred to as "medium format" (because even larger, so-called "sheet film" was
used by professionals). 120/620 roll film is about 2.25" wide. You'll need
access to a special scanner to digitize medium format slides or negatives.
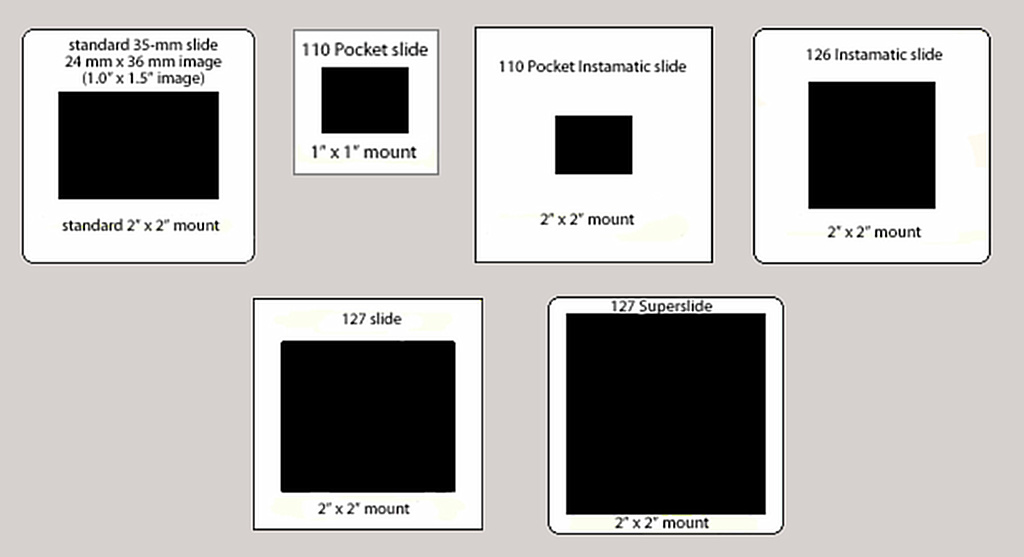
The 127 film size was
introduced by Kodak in 1912, again for amateur photographers. The film, smaller
than 120/620, was sold in rolls about 2 inches wide. Most, though not all, 127
cameras took square pictures. Consequently, unlike with 120/620, many people
used color slide film in this format, which produced 2 x 2" mounted slides—the
same as 35mm—but with a much larger (and square) picture area than 35mm. For
this reason, 127 slides were often called "superslides." For some reason, Kodak
never sold its finicky color slide film, Kodachrome, in this format. Instead,
they offered Ektachrome, which used a different formulation and less expensive
processing, in keeping with 127's amateur status. Unfortunately, Ektachrome has,
through the years, shown itself to be more susceptible to fungus than
Kodachrome, making it all the more important that you get your surviving
Ektachrome slides scanned as soon as possible.
Because 127 mounted slides are the same size as 35mm mounted slides,
it is possible to scan this film size in any scanner that supports transparency scanning, as many units for the home
market do. However, most of these scanners arbitrarily limit their scanning to a
35mm full frame area, which throws away a substantial portion of the image. For
this reason, 127 format film is generally digitized by the same scanners used
for medium format film.
In 1963 Kodak introduced a variant of 35mm film they designated
126. This film, which was 35mm wide, had only one sprocket hole per frame
and was pre-installed into a plastic cartridge to simplify loading and removal
from the camera, even in bright light. Images were 26mm square, and could be
mounted as slides that were compatible with 35mm slide projectors.
The fact that 126 negatives and slides are both taller and skinnier than 35mm
negatives and slides, is problematic. Standard scanners tend to get confused, in
their effort to "simplify" the scanning of 35mm film for which they were
designed; and part of the picture will be truncated. Professional scanning
houses tend to charge an amount per image that is intermediate between that of
35mm and medium format images, and are usually the best way to address this
problem.
With the success of the Instamatic camera, in 1972 Kodak decided to appeal to
those who wanted even smaller cameras, with the Pocket Instamatic camera. This
camera made use of 110 film
cartridges, similar in many ways to the 126 cartridges but even smaller, using
film that was only 13 x 17 mm wide (resulting in a slightly rectangular photo).
Although it was possible to take high-quality pictures with this format, most
110 cameras sold were inexpensive affairs with plastic lenses. As a result,
pictures tended to be blurry and not suitable for enlargements. Keep this in
mind while deciding on a target resolution for your 110 negatives and slides.
APS was
photographic film's last gasp. Introduced in 1996, it included features that,
really, solved almost every problem that had plagued film from the beginning:
Film strips were stored in the cartridge even after processing; they
were never touched by human hands and so were protected from dust, scratches,
and unnecessary exposure to light.
The same film could be used to take
rectangular, wide-screen, or panoramic pictures, intermixed.
The film was coated with a transparent magnetic substance that allowed additional
information, such as time and date taken and/or a caption, to be associated
with the negative.
Unfortunately the main drawback was that APS
images were nearly half the size of 35mm negatives, allowing 8 x 10"
enlargements to be made from only the very sharpest shots.
Finally we have the workhorse, the film for all seasons, 35mm. Originally
used as motion picture film, 35mm was introduced (as "135") by Kodak in 1936. In
the 1970s it exceeded the ubiquitous Instamatics in popularity, and remains so
today. It is the only film size still manufactured by Kodak. Consequently, home
scanners with transparency scanning capability are designed specifically for
35mm negatives and slides; and, if you have the time, you can certainly use
these devices to scan your own.
Scanners treat slides and negatives similarly; you just have to tell the
software which you're scanning so it knows whether to invert the image colors or
not.
Not all scanners have the capability of scanning transparent materials; but
all scanners (except, of course, for specialized film scanners) can scan prints.
And that's fortunate, because no matter how careful you've been to preserve your
negatives, you are likely to have some priceless prints for which the negatives
cannot be found. They will need to be scanned directly; and this is something
you can do as easily as anyone else (again, given that you have the time).
Here's a hint: Be sure to set your scanning software to render a "gray scale"
image if the photo is black-and-white—even if it was "tinted" to sepia or blue.
(On the other hand, old hand-painted photos should be scanned in color, of
course.)
A question that will come up when you are scanning is, what resolution should
you use? A lot of people are puzzled by the whole issue of resolution, so let me
review it briefly here.
When a photo or negative or slide is scanned, it is electronically broken up
into many tiny, tiny pieces. These pieces are, individually, smaller than can be
seen by the naked eye and, even under a microscope, would appear to be a dot of
a single color. There are over 24,000,000 distinct colors, more than anyone this
side of Martha Stewart can name. However, they can each be given a number, and
are. That number can recreate any single color, including its purity and its
brightness. And when these dots, which are called pixels, are
reassembled, they recreate the original picture. That's what your TV screen has
always done. In fact, that's what photography has always done, except
the pixels were silver halide crystals of irregular shape. (Photographers called
that grain.)
So the issue of resolution boils down to: How small do you want your pixels?
Or, conversely, how many do you need to represent your picture?—That's
the topic we'll address next.