|
By: Paul S Cilwa |
Posted: 2/28/2015 |
|
Page Views: 3,283 |
| Hashtags: #Photography |
| I share my method of scanning and restoring old, color-faded slides. |
| Estimated reading time: 4 minute(s) (734 words) |
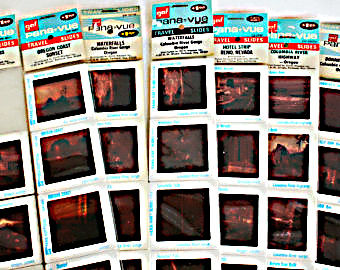
Back in the days of film cameras, stores used to sell professionally-taken
slides in sleeves of 4 or 5 to tourists who were trying to short-cut
their vacation photos. The slides were generally displayed on an
internally-lit carousel and left there for months…years. In that
time, of course, the constant exposure to daylight, fluorescent
lights, and the internal light, caused the slides to fade even
before they were purchased.
My dear friend, Barbara Lafford, who is a professor of Spanish
language at Arizona State University, recently asked me if I would
scan and try to restore her collection of photos of Spain, taken in
1983. The collection was stored for decades in garages in the
Phoenix area, where the temperature can go up to 140°F, another
injury to the color dyes. Many of these slides are the commercial
types, purchased on the trip; they've survived even less well than
her personal shots.
I've got the procedure for scanning and restoring these slides
pretty much down pat, and since millions of these old slides must
exist, perhaps someone else can benefit from my experience.
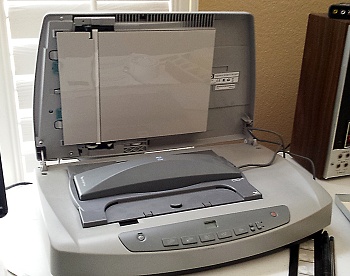
First of all, the scanner: It
must be one capable of scanning transparencies. I am using an old HP
ScanJet 5590. There are more appropriate film-specific scanners, but
I can't afford one. Fortunately, the ScanJet is doing an adequate
job.
The slides are loaded into a lightbox, which fits snugly into a
tray on the scanner's platen. The lightbox holds 3 slides (or 4
negatives in a strip) at once. A tap of the appropriate button on
the front panel starts the scan.
Now, the original photo that we are going to work with
is one of a statuary group in the Cathedral of Seville
celebrating Christopher Columbus, who, in Spain, is known as
Col?n. Here is an unretouched scan of the slide.
Most of the slides in this collection have a red dot
in the upper right corner of the mount, to indicate how to
load it into a projector, so it is neither backwards nor
upside-down.
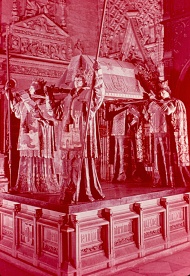
The color is so faded from this image that one might
wonder if any colors at all can be extracted from it.
However, the scanner software includes a "color correction"
setting, which gives us a somewhat more usable image.
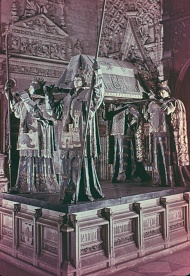
However, in this case, Barbara's red dot was incorrect;
I could tell from the writing on the base that it needed to
be flipped. The scanner software would have done that, but
the preview it offered didn't make the writing visible. So I
loaded the photo into my photo editing software and flipped
the image. At the same time I straightened out the image;
either the photo was taken with the camera tilted a bit, or
(more likely) the film inside the slide mount had shifted
slightly with the years. The editing software I am using is
a program called Zoner Photo Studio 16. I bought this
software not long ago. The current version is actually 17;
but since I just paid for 16 and they weren't
offering a free upgrade, I am sticking with 16.
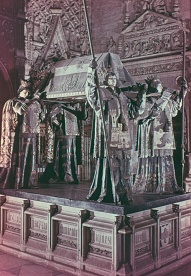
The next step is to punch up the lighting levels and
contrast. One command click ("Levels") adjusts it, and the
defaults I've provided do the rest.
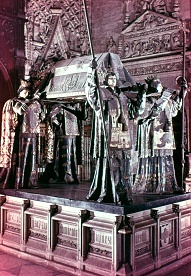
I also applied a little more color correction, to try and bring out the gold on the statues.
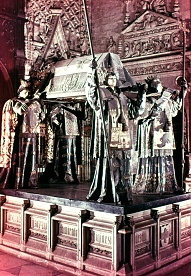
And finally, I applied the Sharpen function to make up for the fact that the scanner produces very soft-focus images.
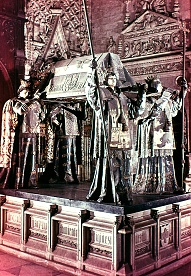
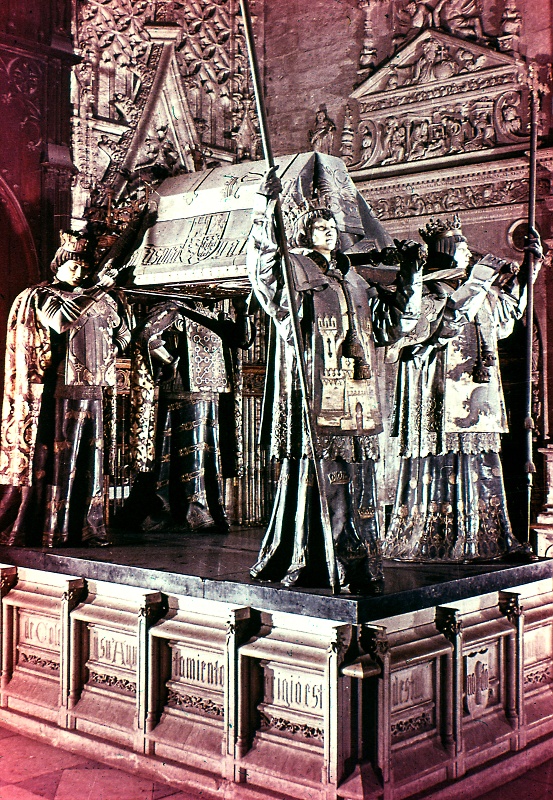
To help guide me, I looked up the statuary group on Google
Images, and found a more recent picture.
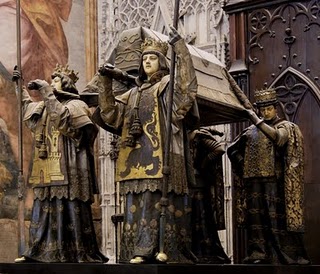
I suspect the 1983 photo was taken at night; the image above was
likely taken with some natural daylight, perhaps coming through a
skylight or high windows. Obviously a lot of detail has been lost in
the past 30 years. Still, cleaned up the images should provide many
more years of happy reminders of what must have been a most awesome
trip!