|
By: Paul S Cilwa |
Posted: 4/23/2024 |
|
Page Views: 544 |
| Hashtags: #Photography |
| The very unintuitive way to extract a decent photo from a newspaper clipping. |
| Estimated reading time: 4 minute(s) (742 words) |
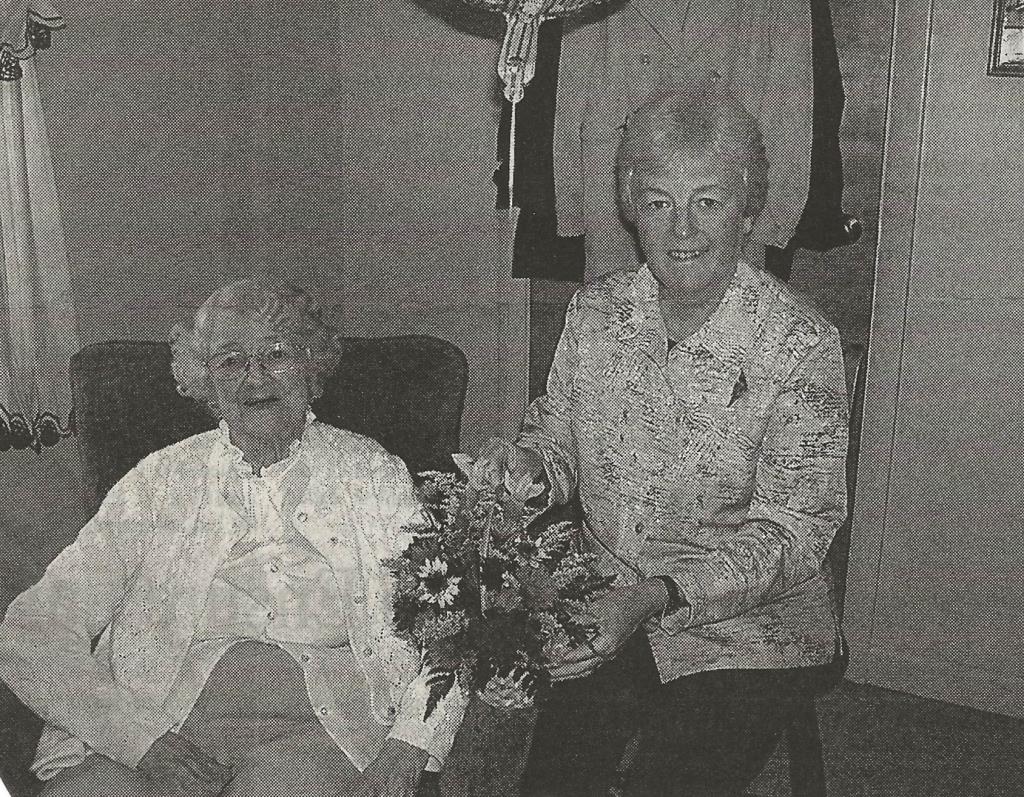
All printing, even computer printing, uses something called halftone printing to render
photographs. Halftone printing is a reprographic technique that simulates continuous-tone
imagery through the use of dots, varying either in size or in spacing, to create a
gradient-like effect. This method allows for the reproduction of photographs and
intricate images using only one color of ink, with the dots' size or spacing modulating
the intensity of the tone.
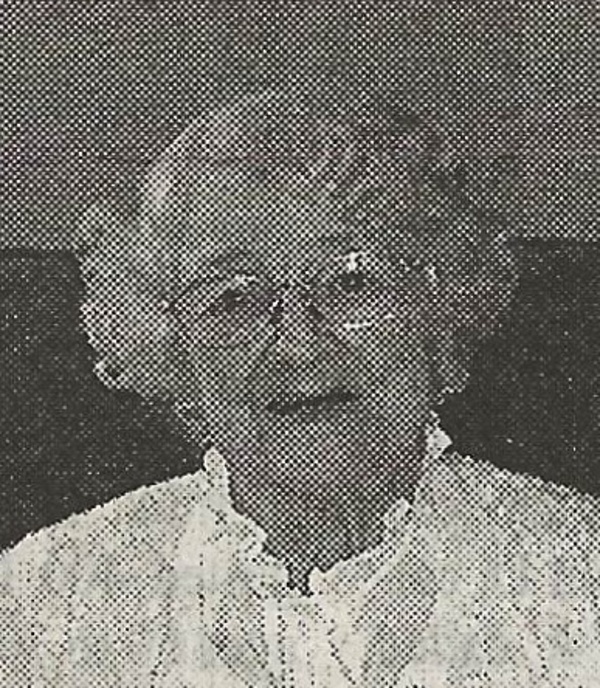
The human eye, when viewing these dots from a sufficient distance,
perceives them as smooth tones, creating the illusion of a continuous-tone image.
The halftone process was a significant advancement in printing technology, enabling
the realistic reproduction of photographs in mass commercial printing, which
previously relied on hand-carved blocks of wood or metal engravings that could
not capture the subtle details of a photograph.
The first successful halftone image was printed in 1880 by Frederick Ives, an American inventor.
Extracting a reasonable copy of the original photo from a halftone print presents
challenges due to the nature of the printing process. Halftone printing translates
the continuous tones of an image into a pattern of dots, which can be difficult
to reverse without losing detail. Continuous tone copy, which includes photographs
and other images with unbroken variations in tone, is more challenging and expensive
to reproduce on a printing press. This is because printing plates are designed
to print solid areas of color and cannot replicate the different shades of grey
that make up a photograph. As a result, the halftone process is used as a workaround,
but it inherently introduces limitations when trying to recreate the original
continuous-tone image. The dots in a halftone image partially overlap and vary in
size, making it complex to extract a clean, continuous-tone copy from the printed
halftone without sophisticated image processing techniques.
Nowadays with AI-powered photo editing software, a halftone photo is considered noisy
and so noise reduction filters usually do the job. However, that would be with finer
printings, such as a magazine illustration. Newsprint is really cheap paper
and so the halftone dots have to be bigger. A halftone photo like this one
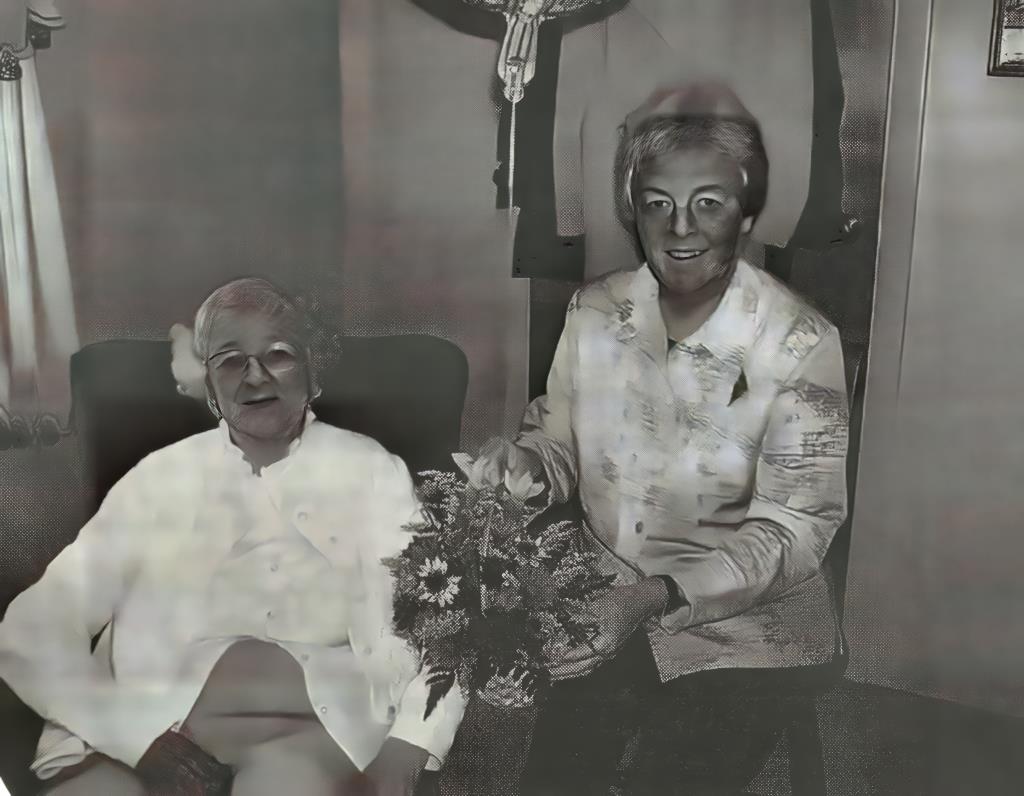
of Mrs. McGinnis is so extreme that you either have to dial the noise reduction back so far it does no
good, or forward to the point the picture is unsuitable, like this:
However, there's a very unintuitive way to get around this. You shrink
the picture down to where the shrinking process blends the little dots together,
making genuine tones of them. This is counter-intuitive because you feel like shrinking
the photo loses information. But in the case of shrinking a halftone image,
it doesn't really; because there isn't really that much information there.
.jpg)
Now that the photo has been shrunk, I can give it to
Topaz Photo AI to do its thing.
That's the same program that produced the first result. But check this out!
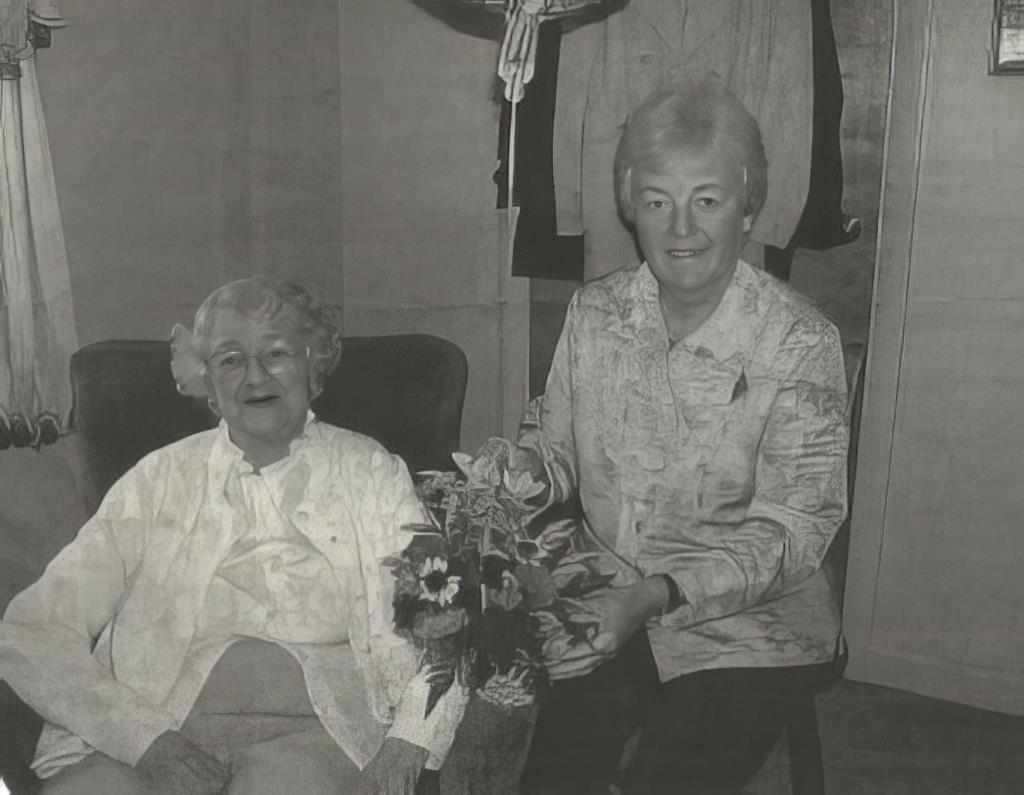
When I saw that result, my jaw dropped. I'd hoped it would help, but it actually
gave me something I could work with! I did a little contrast leveling and spotting
with Zoner Photo Pro
(not an AI app but very capable) to get it ready for the final
step.
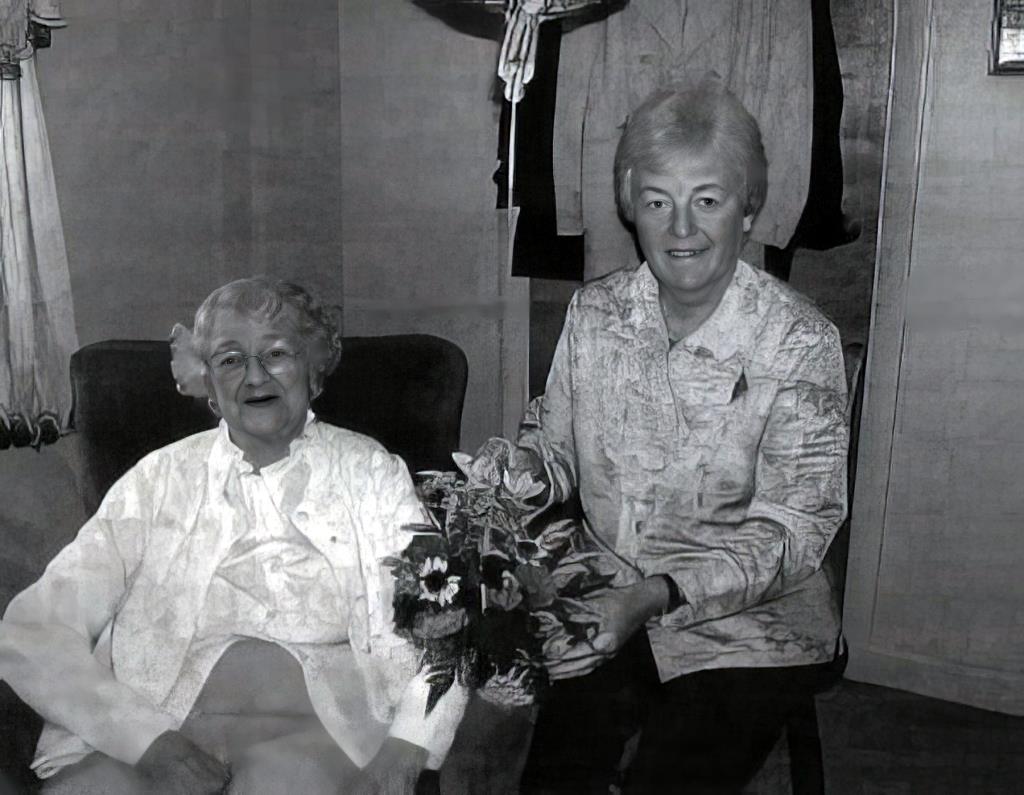
That last step, currently, I must do on my phone, where the Colorize AI app
runs. Once in awhile, that gives me a final result I'm happy with.
More often, I use it as a good starting point but then basically paint over
what doesn't work.
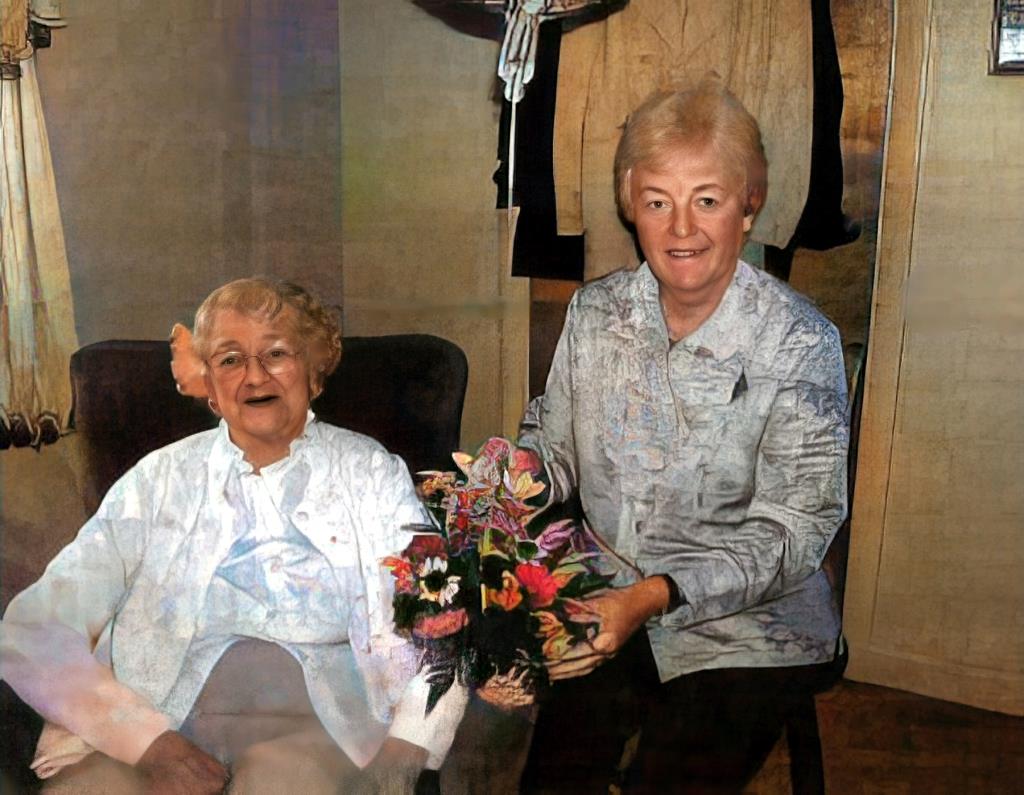
This can be anything from tweaking just a few colors,
for example, with school uniforms the AI hasn't been trained on, to practically
having to repaint the whole thing. Luckily that's rare. Here's my final product:

So now I have a finished product, ready to incorporate into a post here
about my dear, departed teacher.